Here’s how I updated the rather tatty looking ceiling that I inherited with the van. The previous owner had stuck some photos to the ceiling board which had warped and seen better days. I wanted to tidy things up and use a single board instead of the factory-fitted dual panel version.
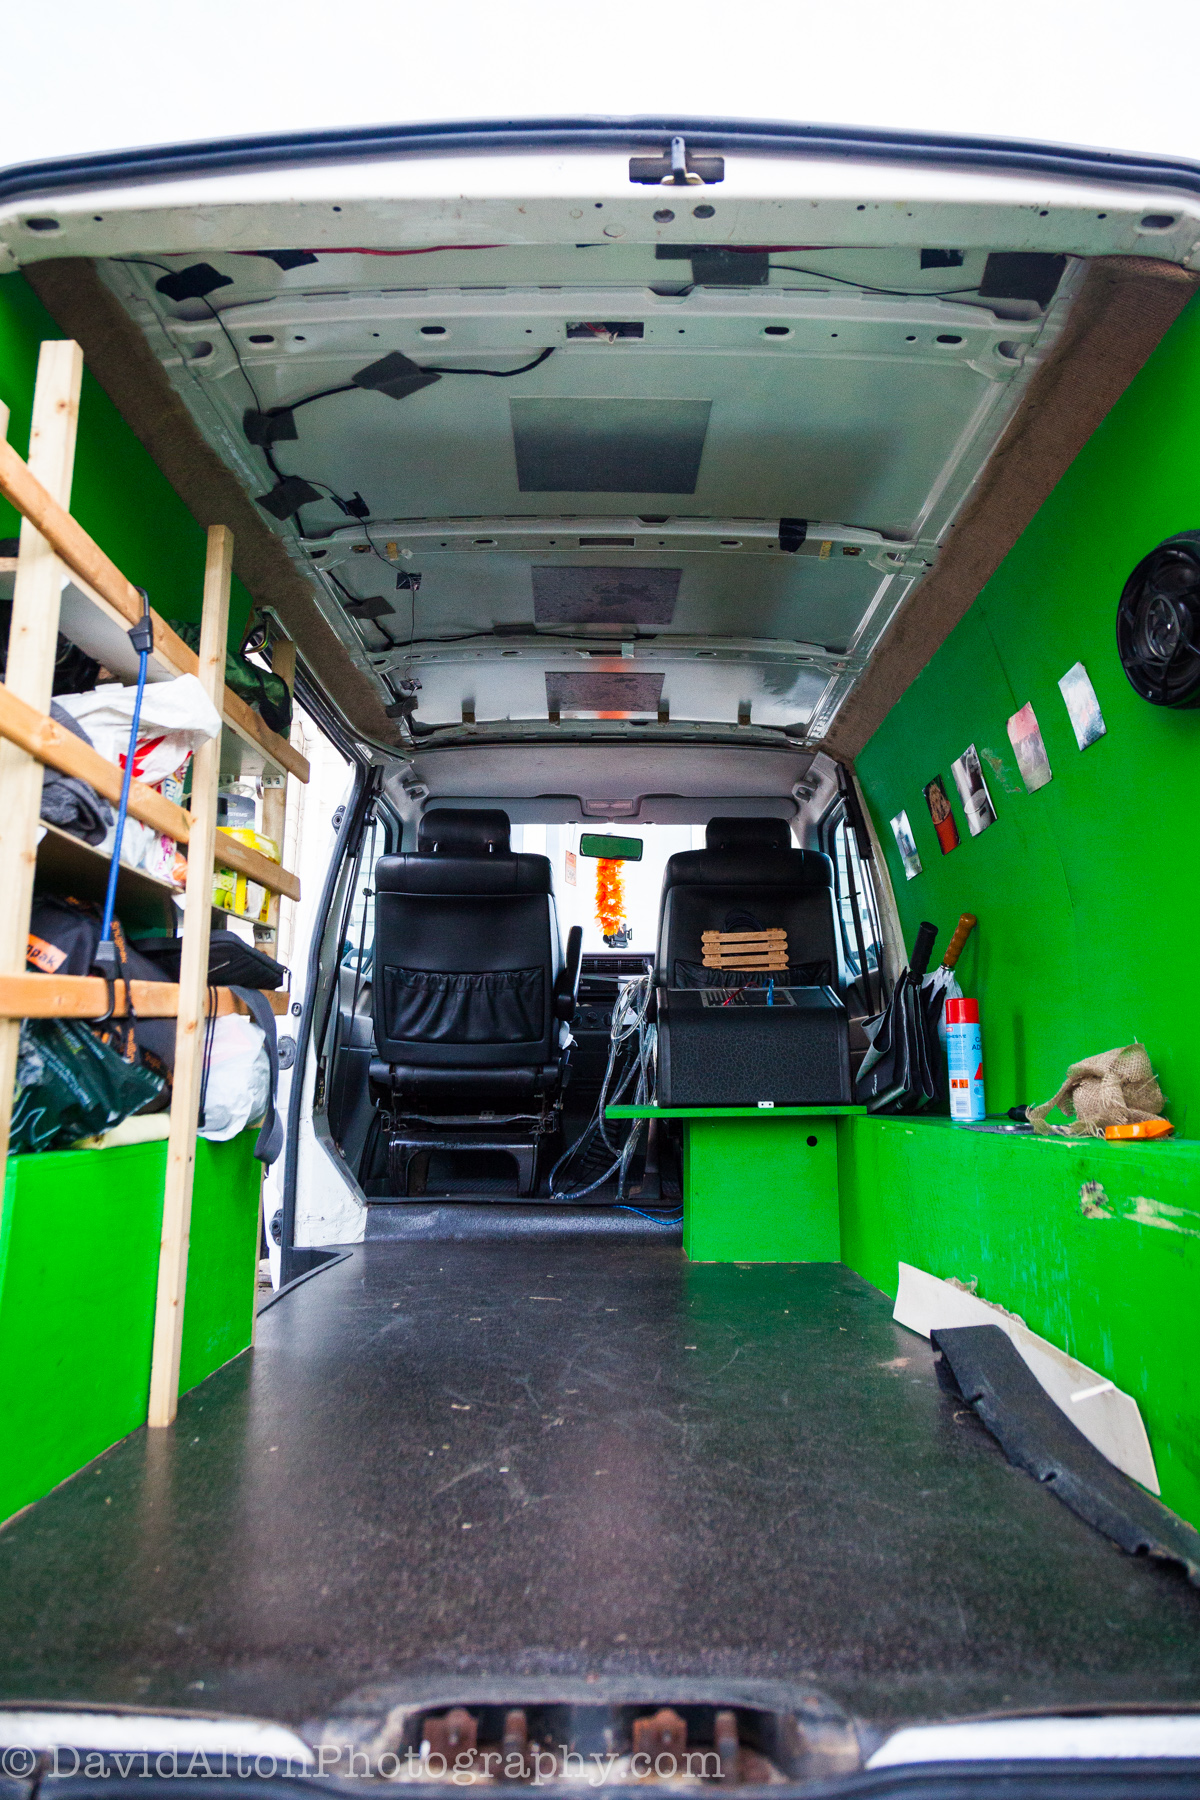
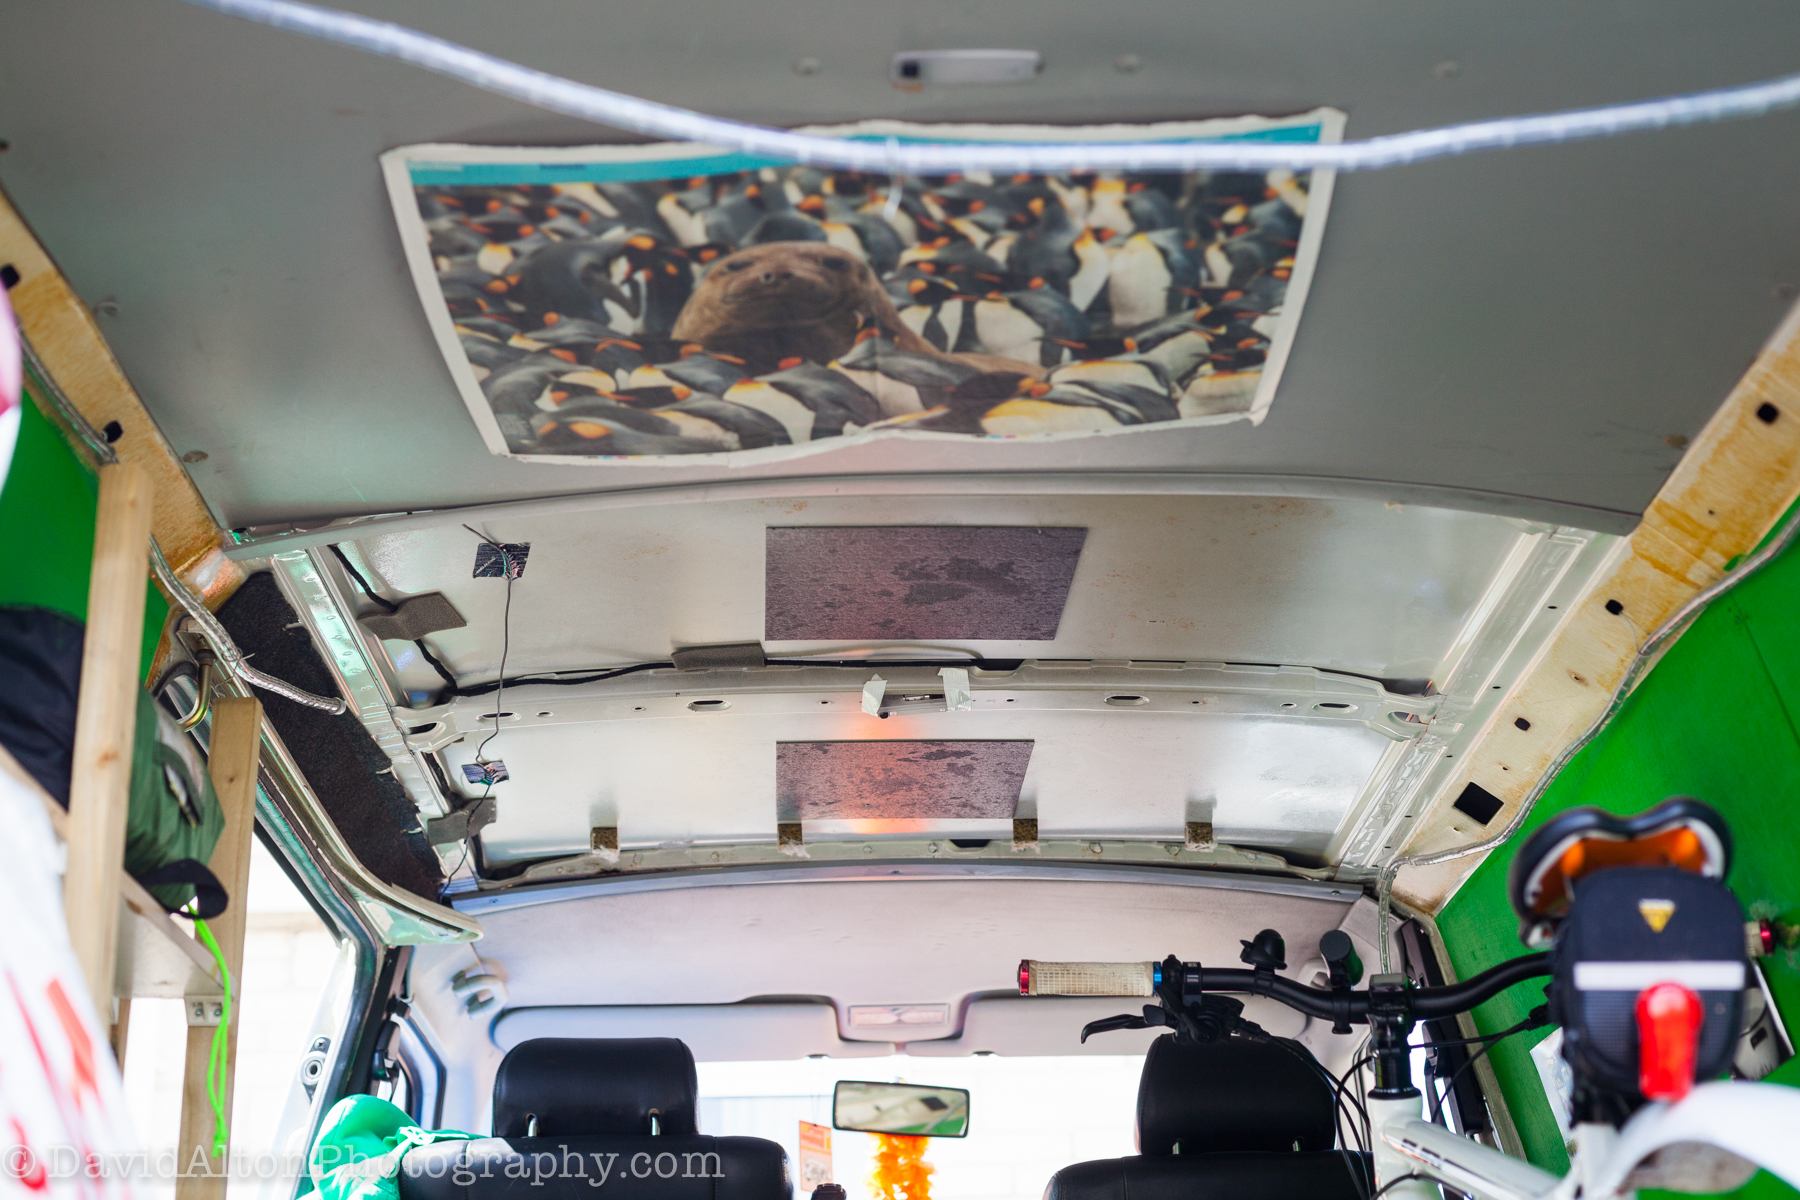
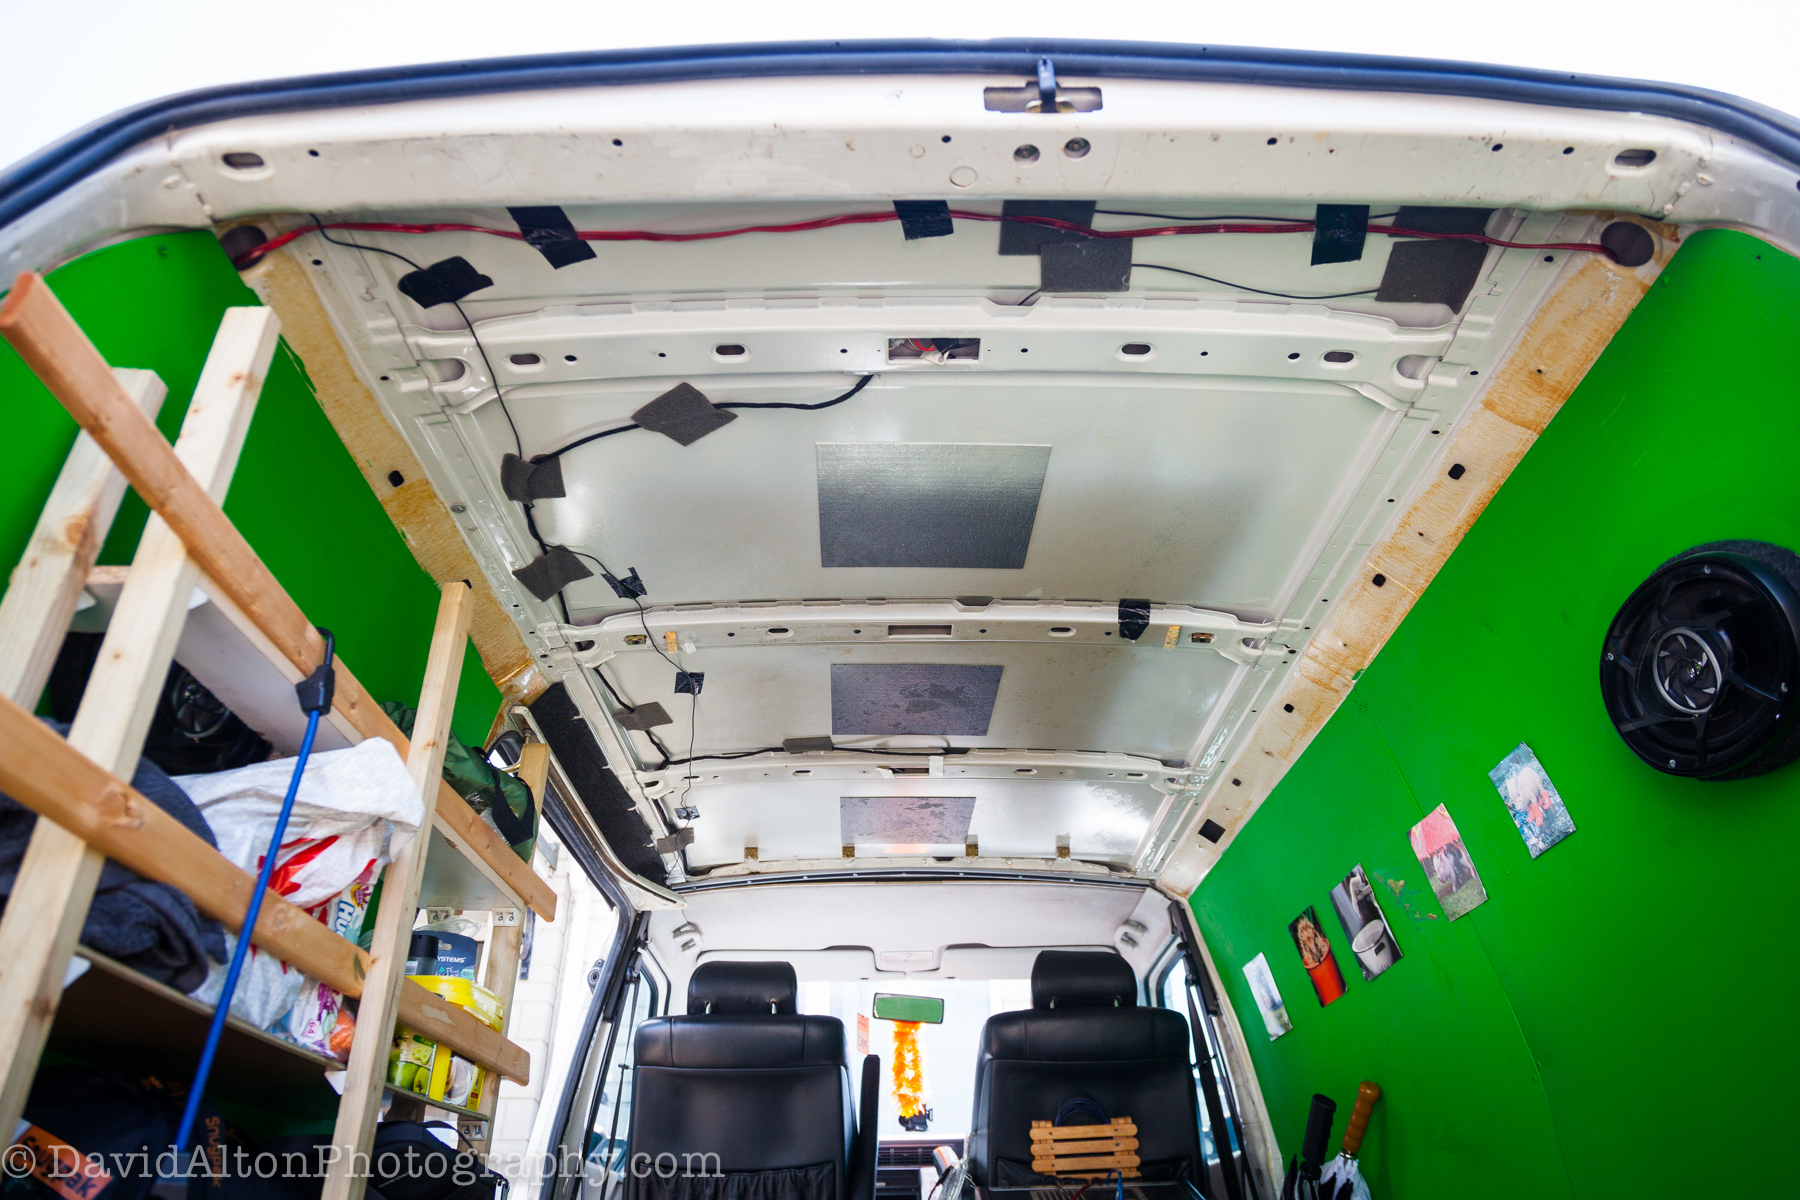
Firstly, here’s the ceiling partially and fully removed:

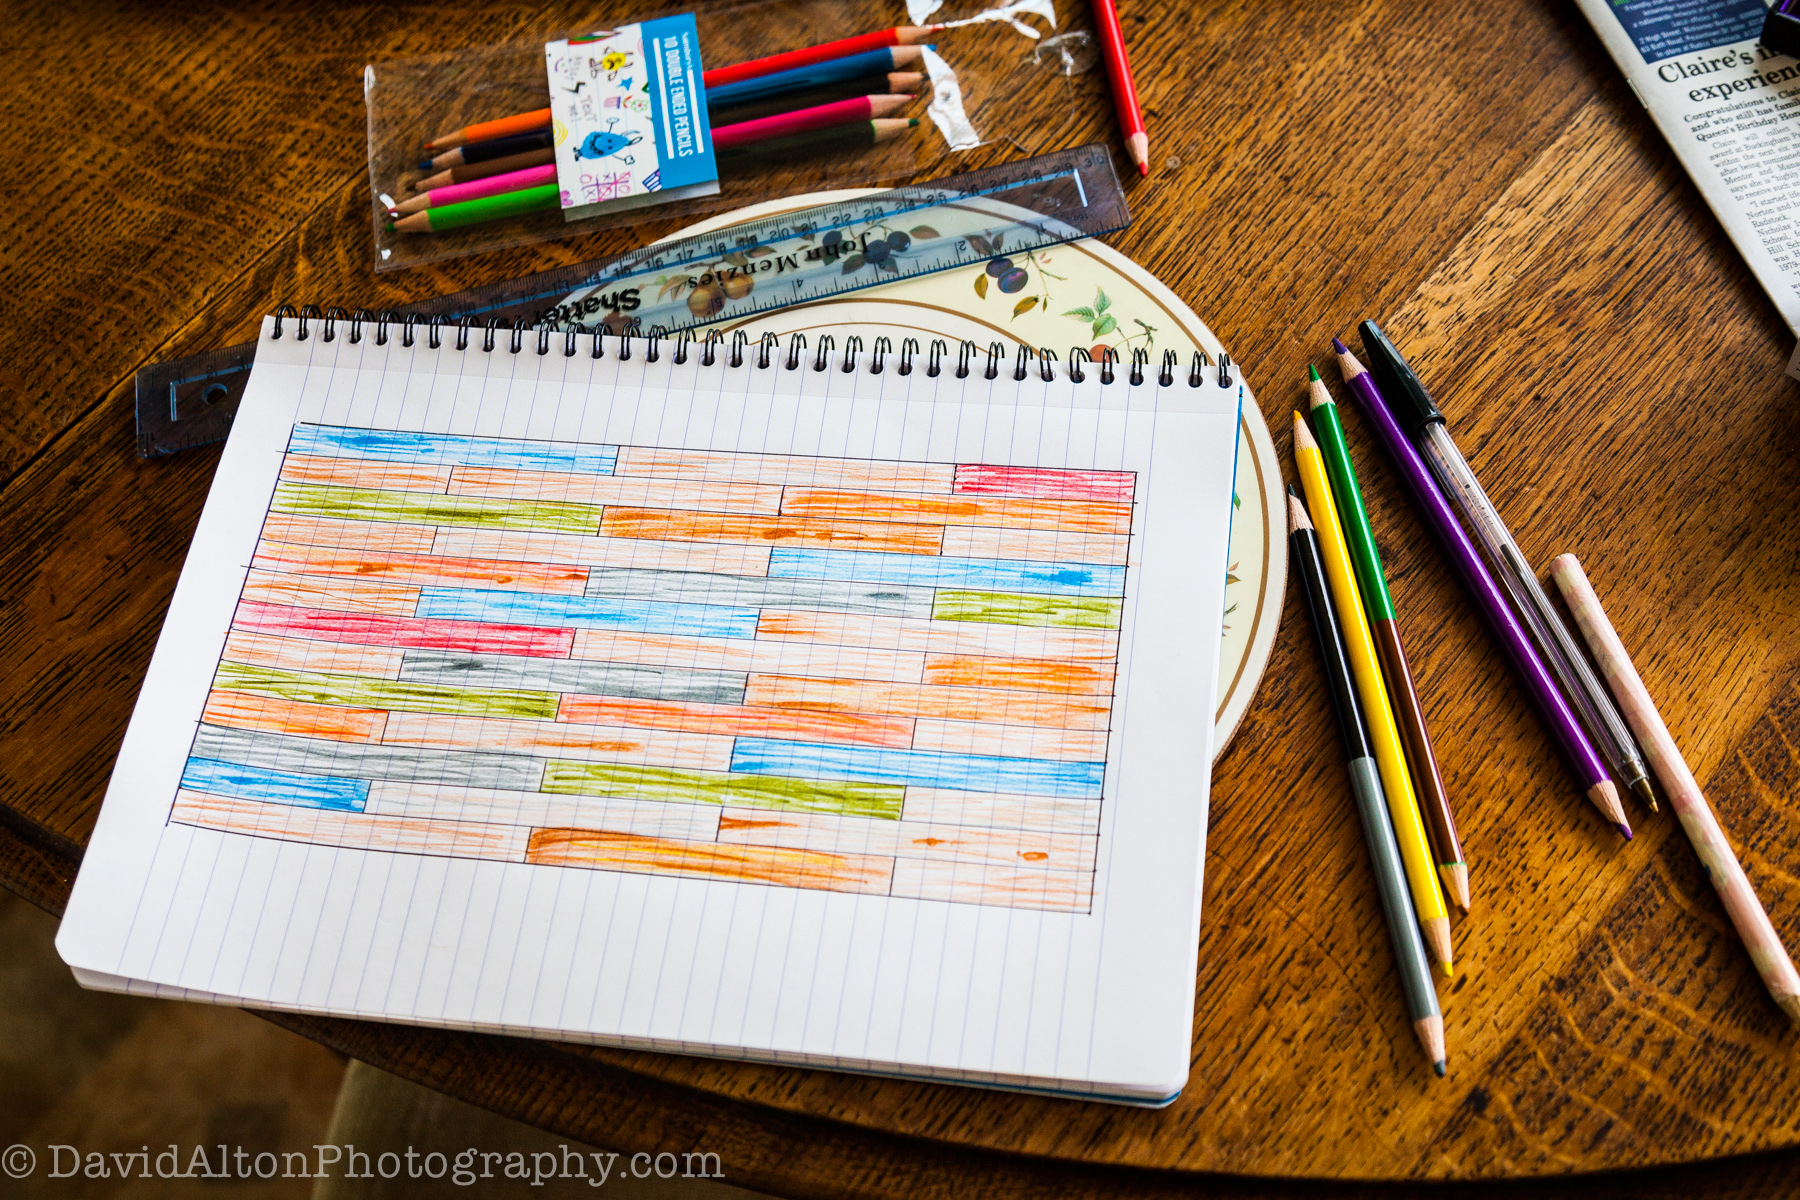
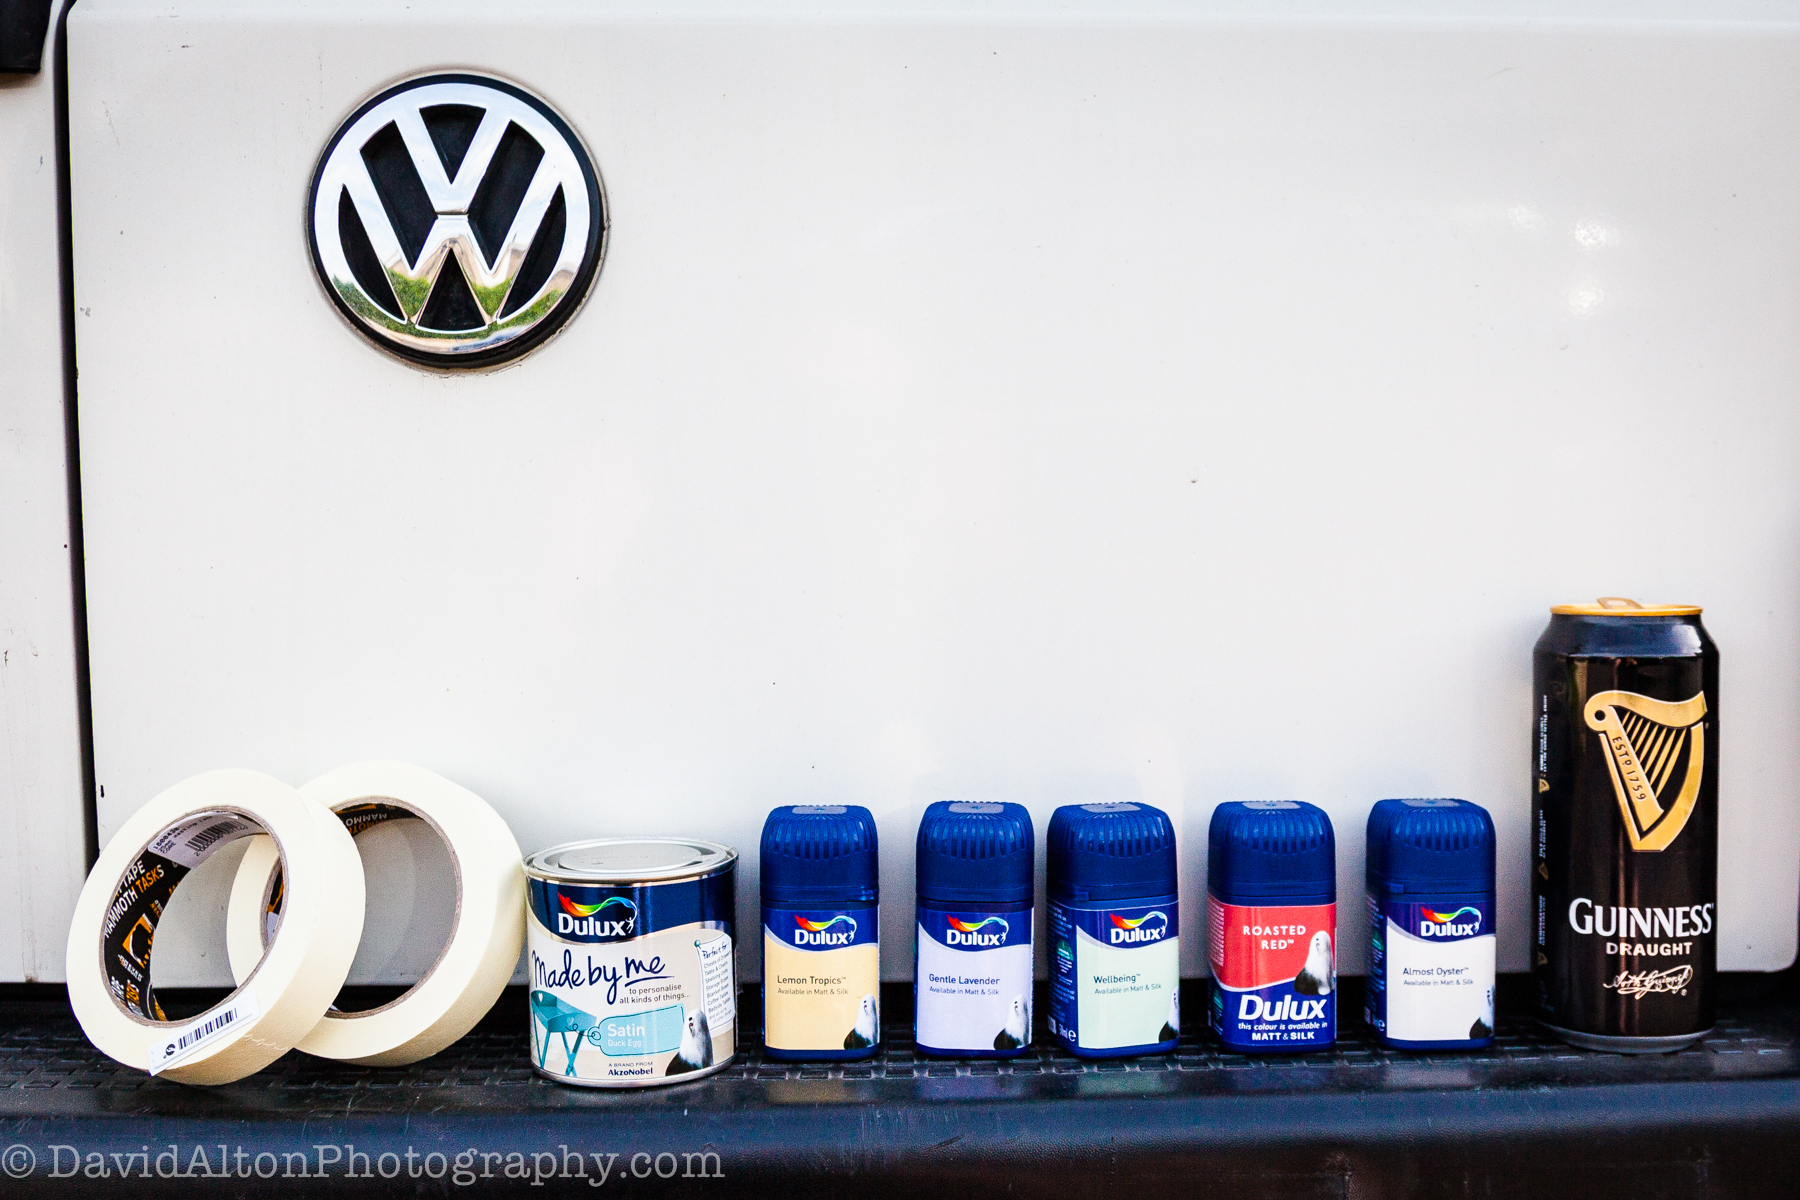
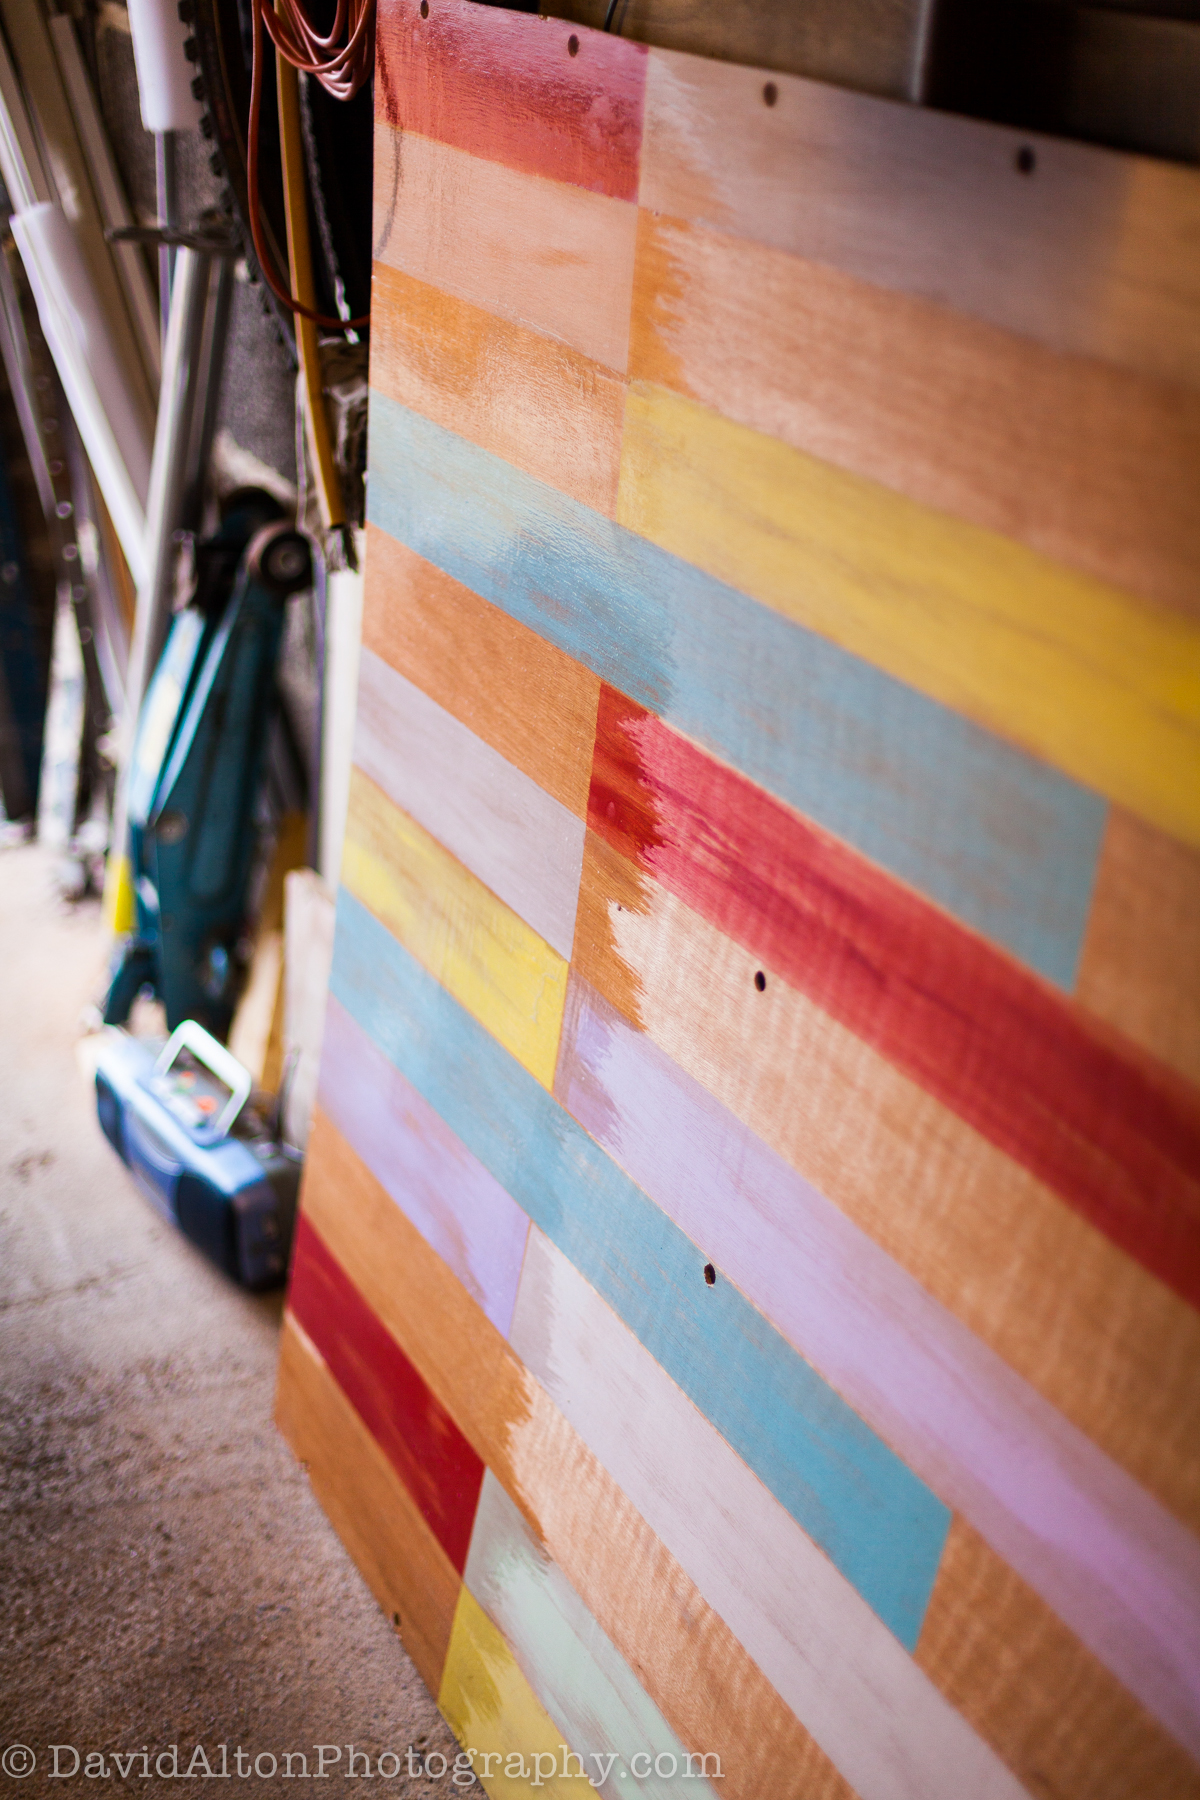
My rough plan for the new ceiling design and paints (bought tester pots, as much cheaper):
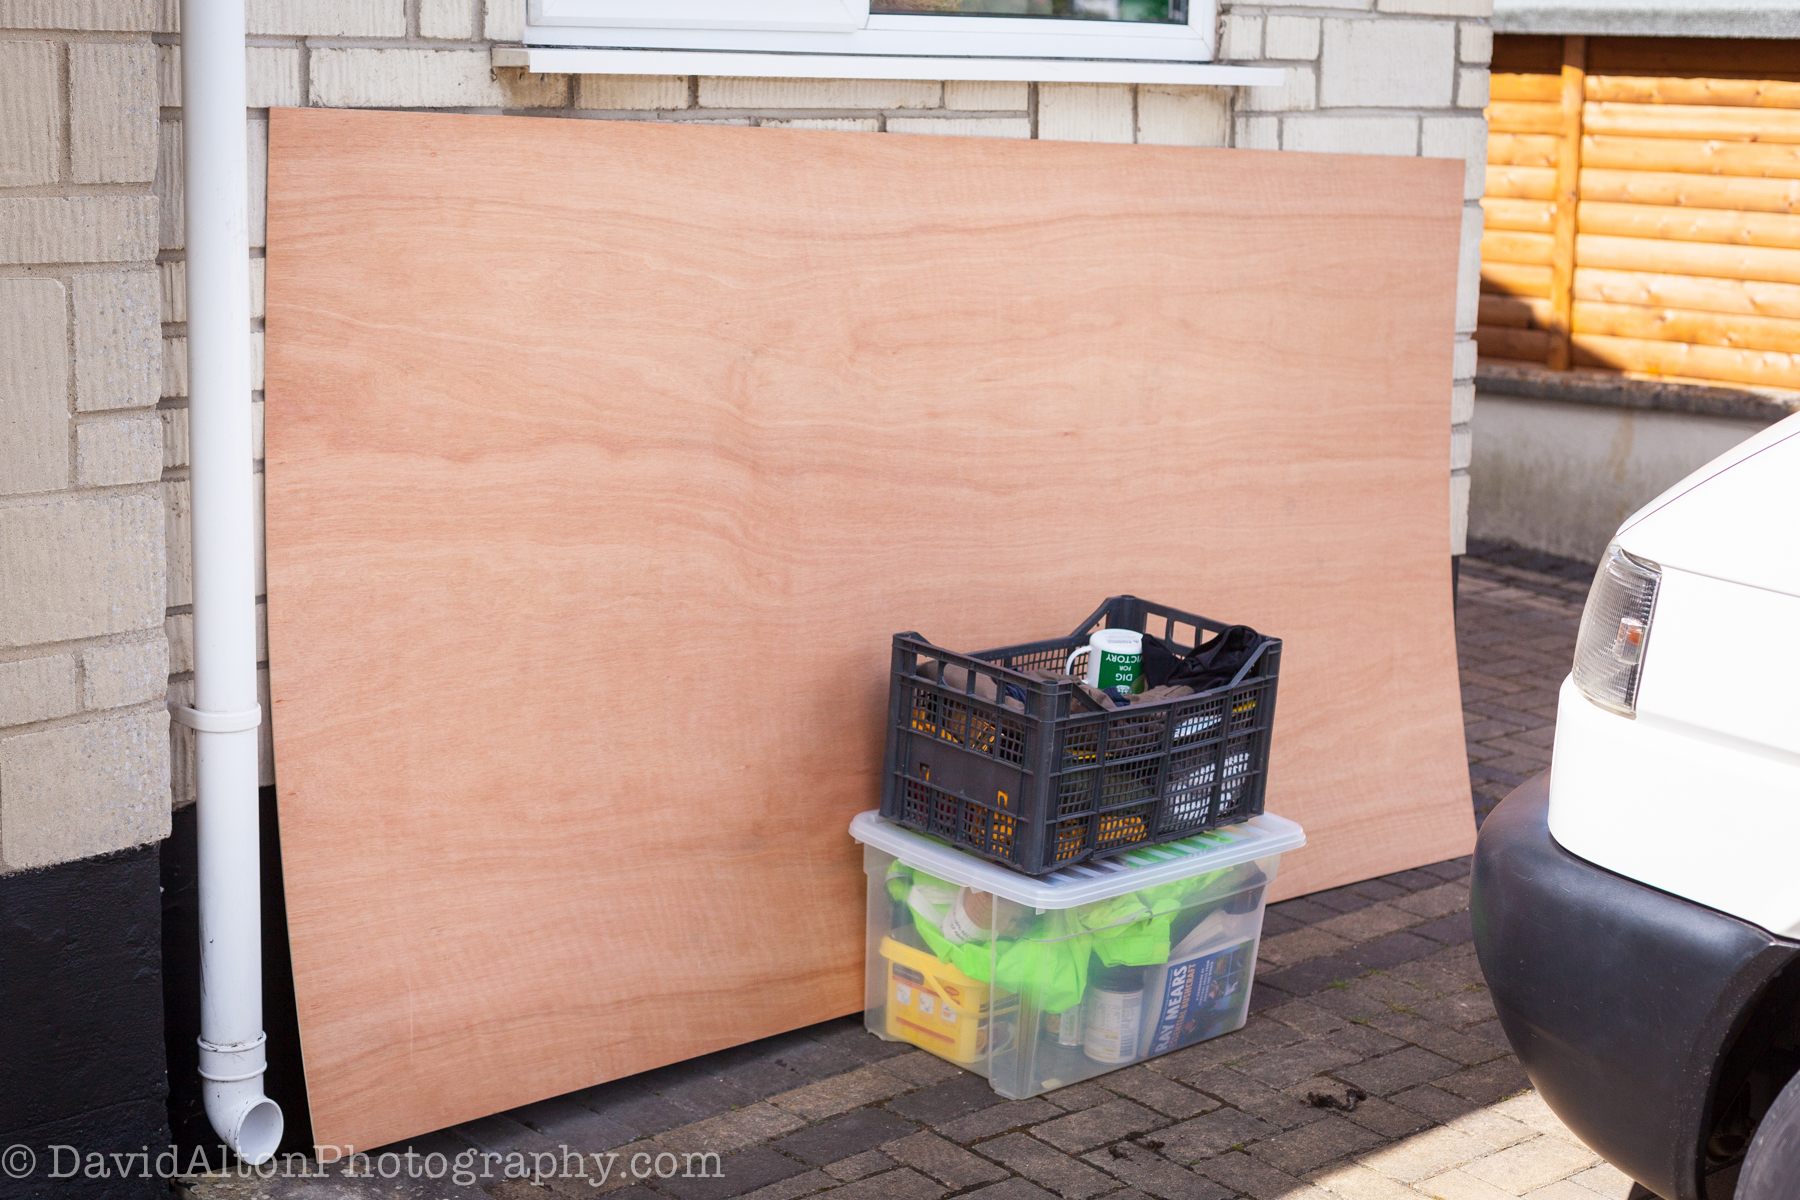
New 3.6mm ply, single board to replace the original two-piece ceiling:
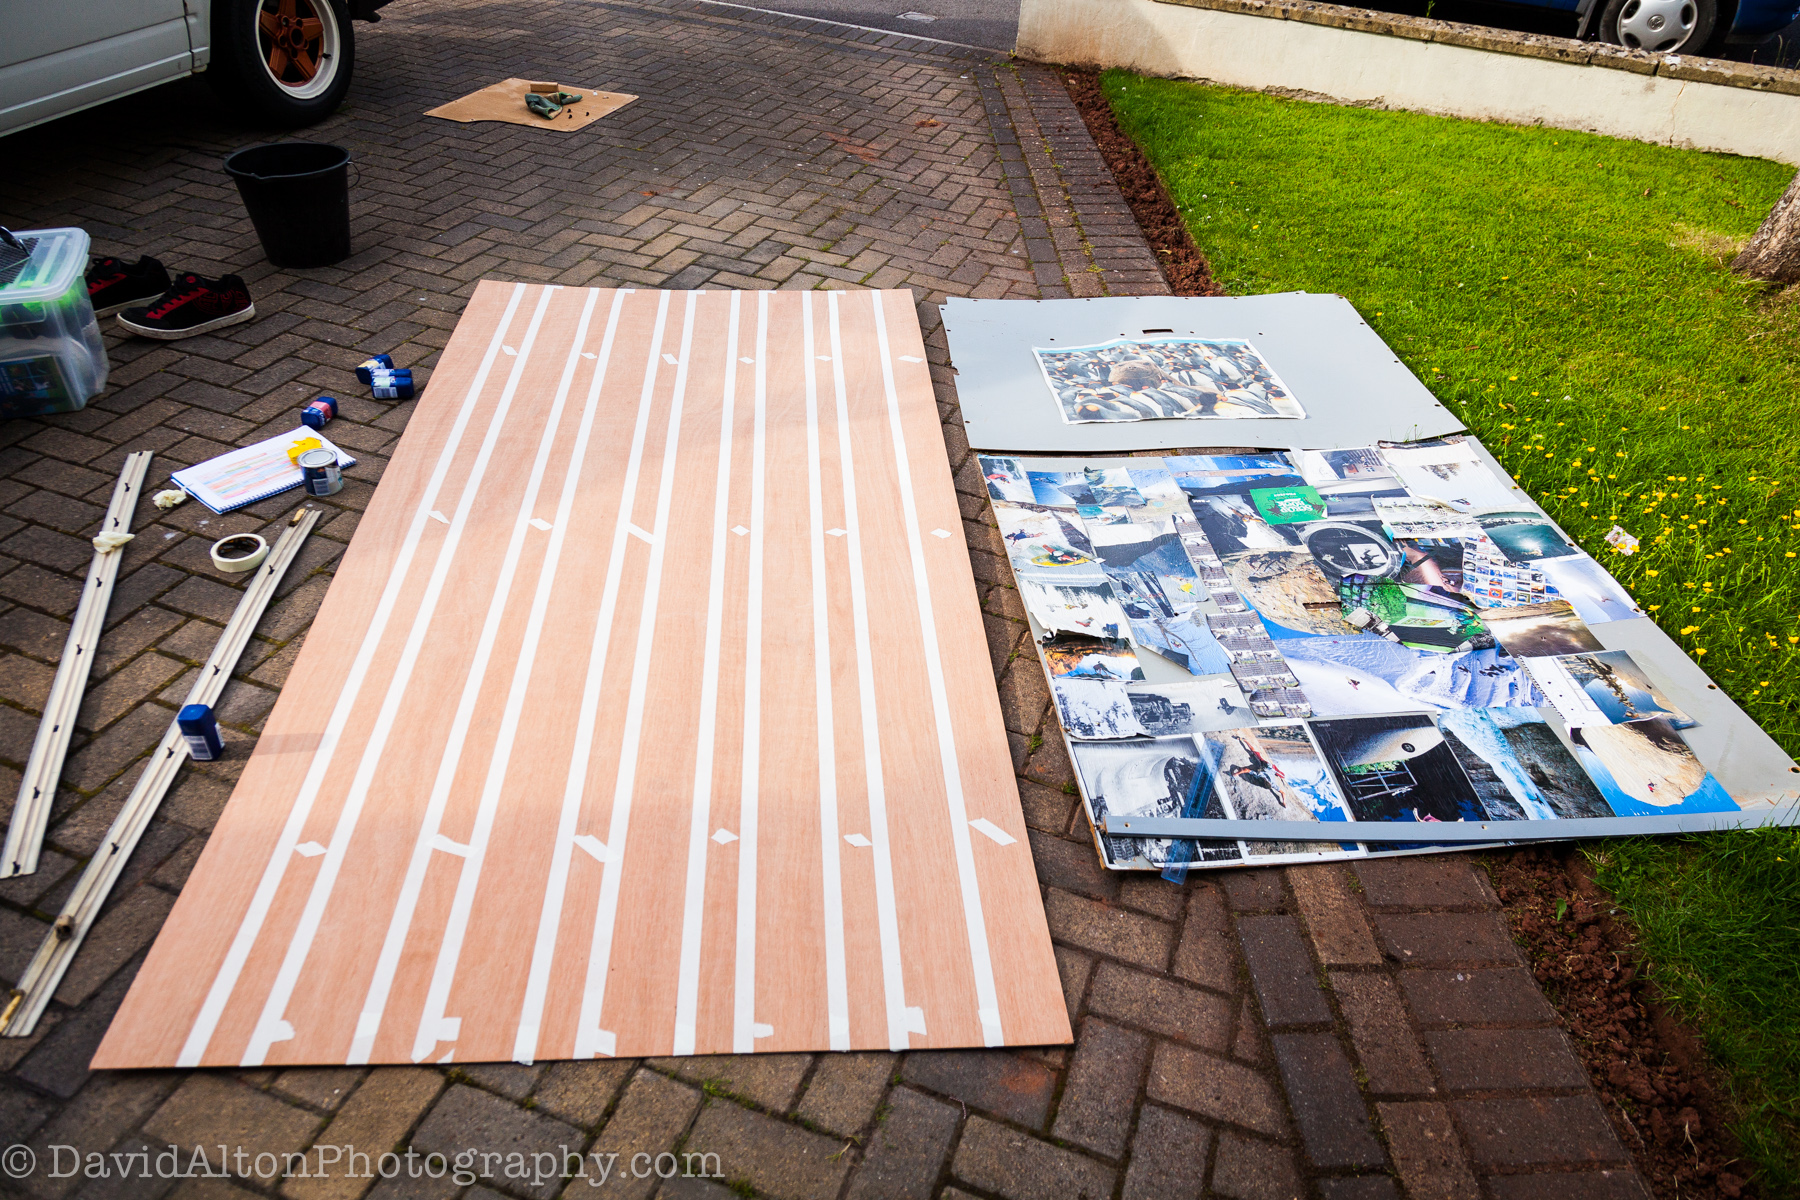
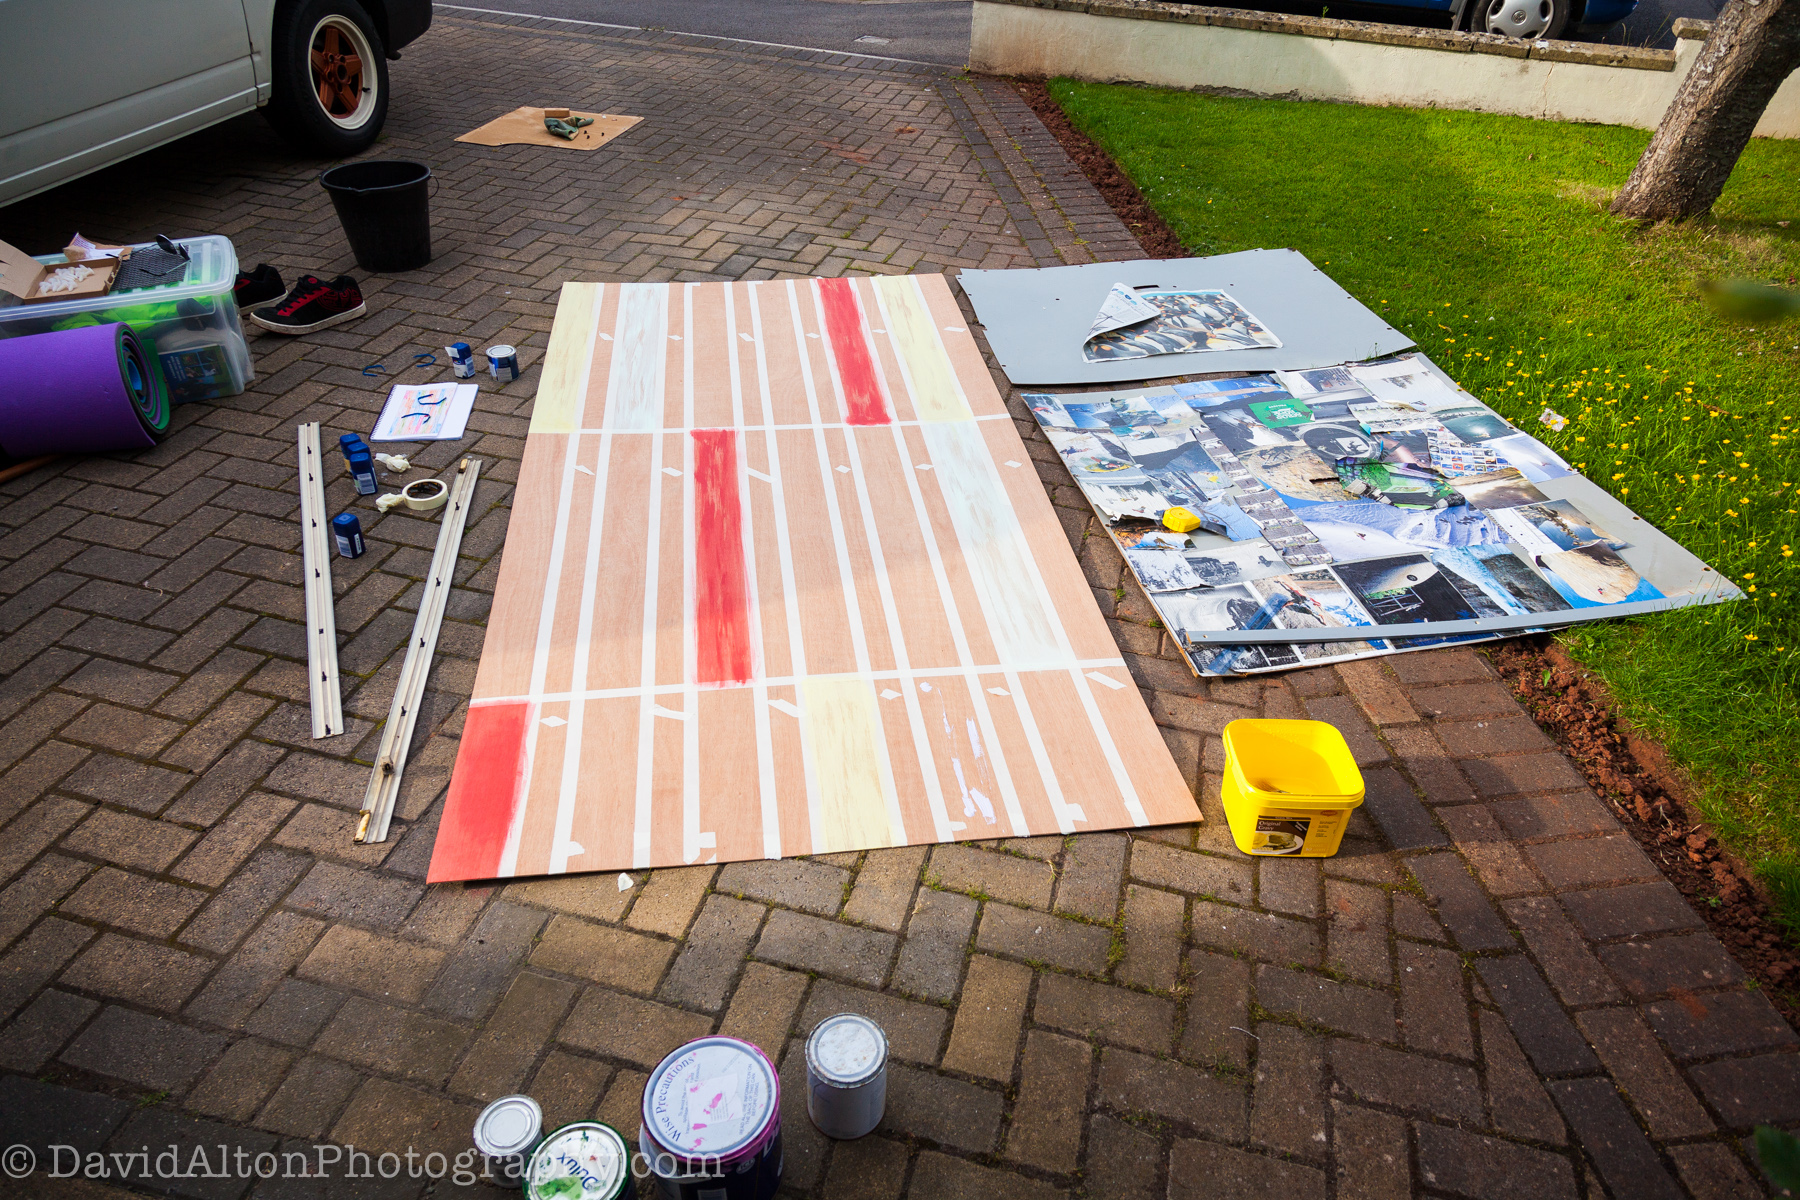
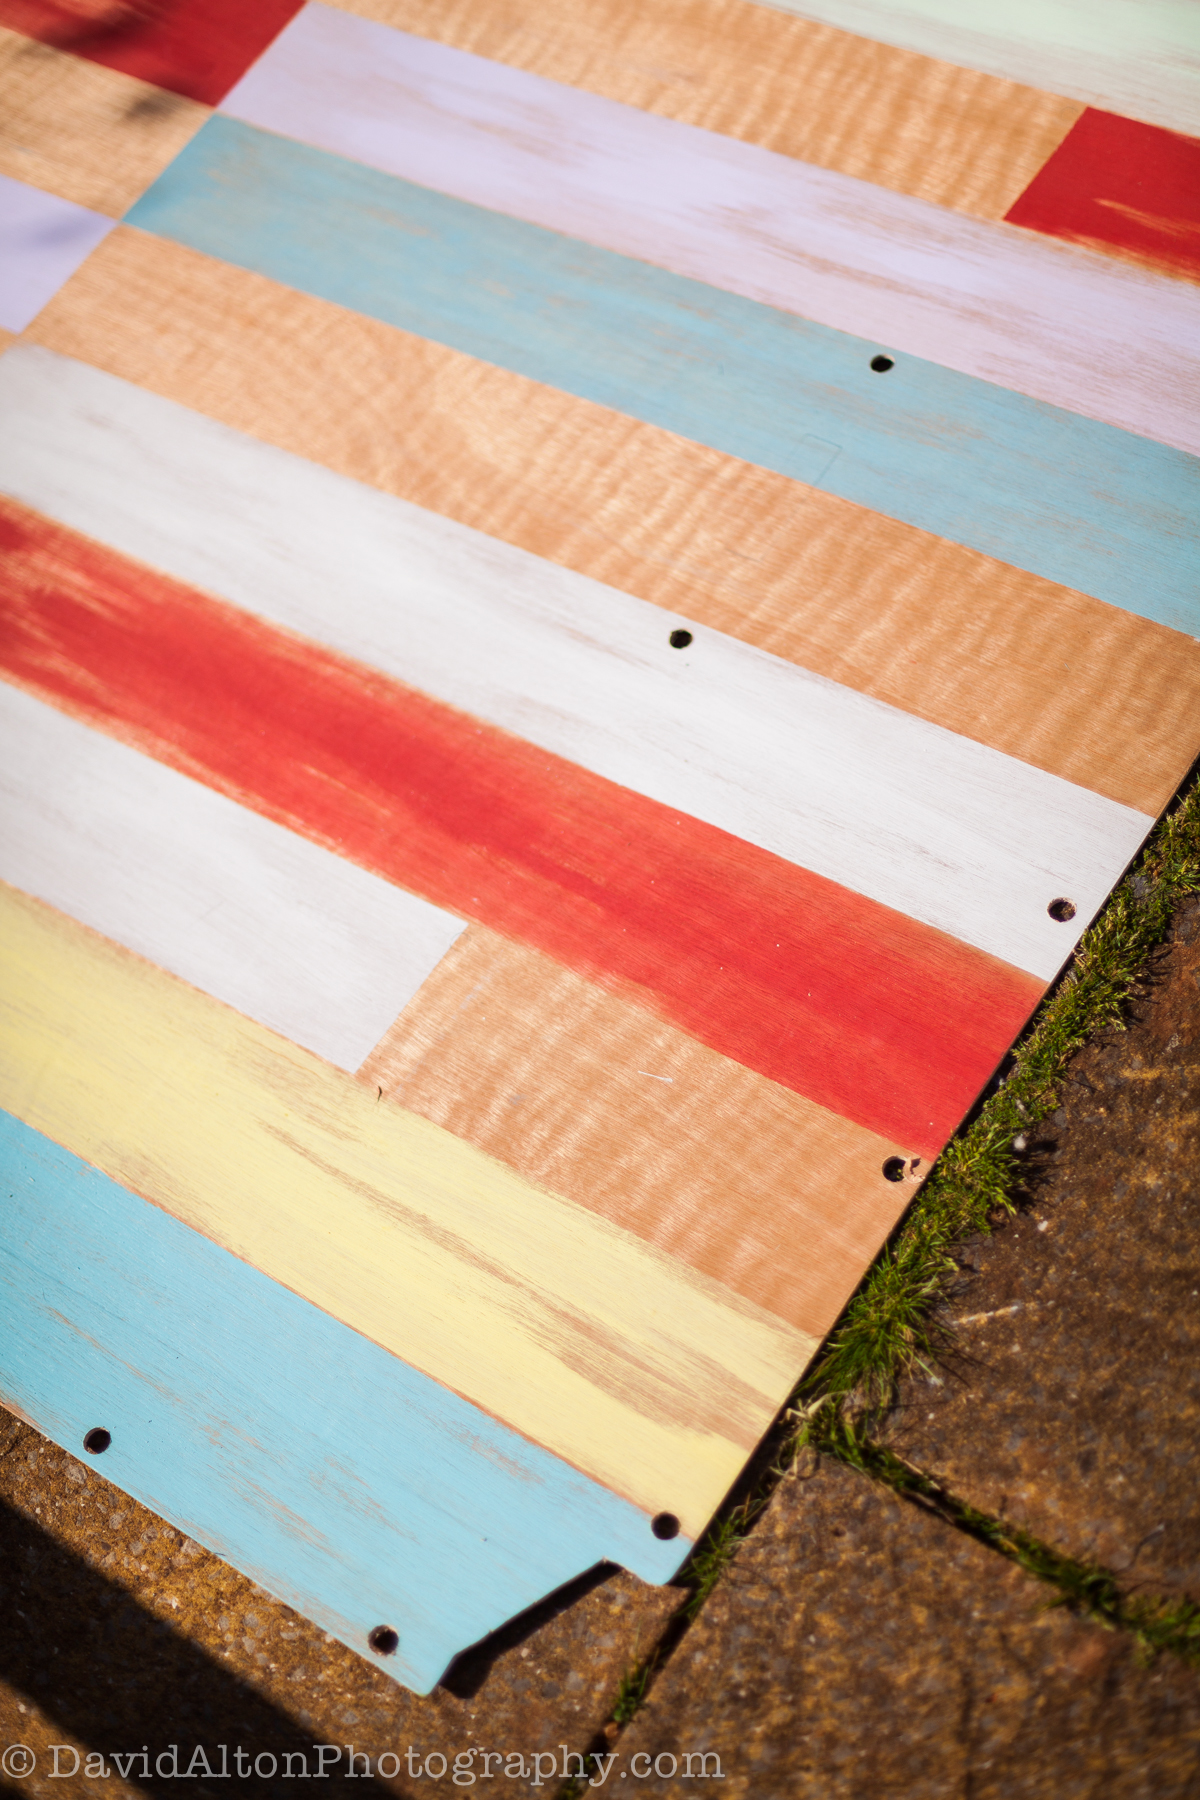
I masking taped the design to keep the paint edges straight and tidy. To the right in the images, you can see the original two pieces:

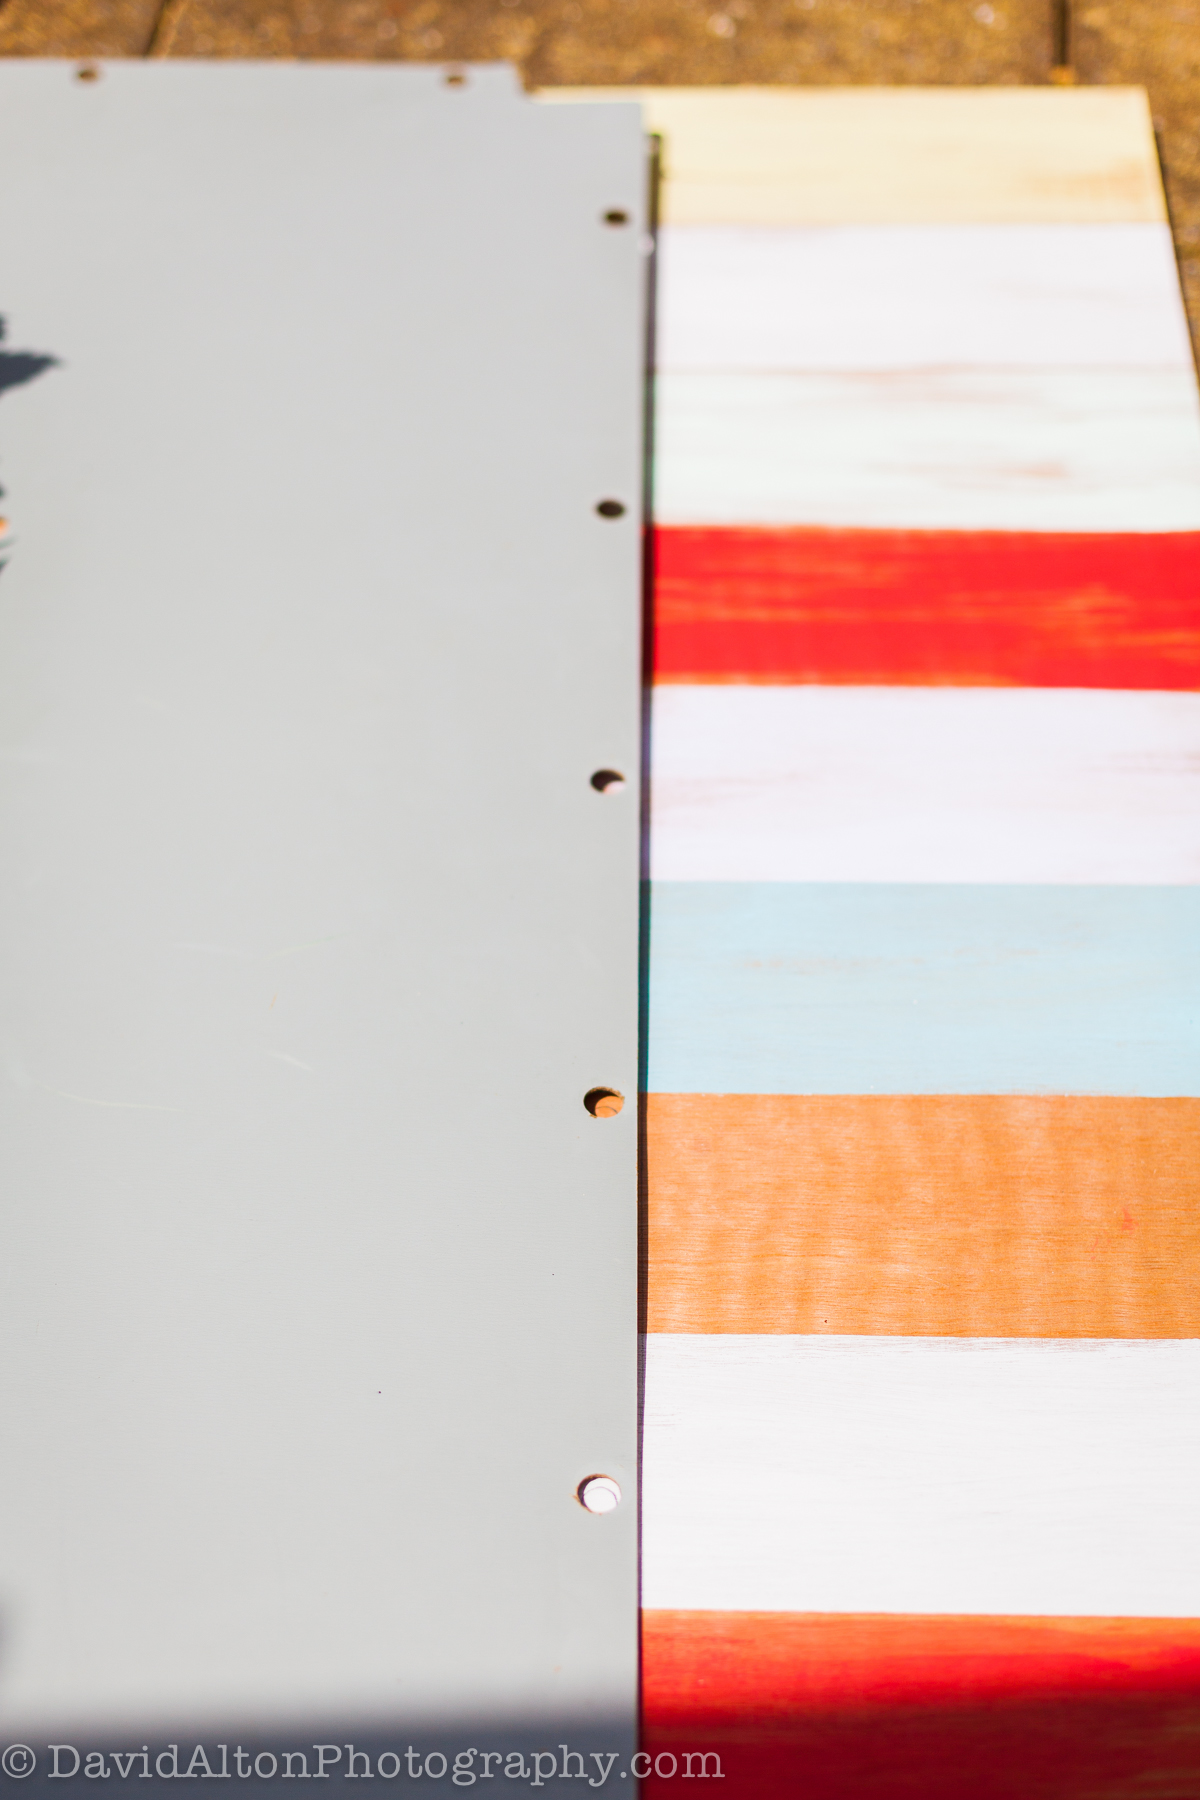
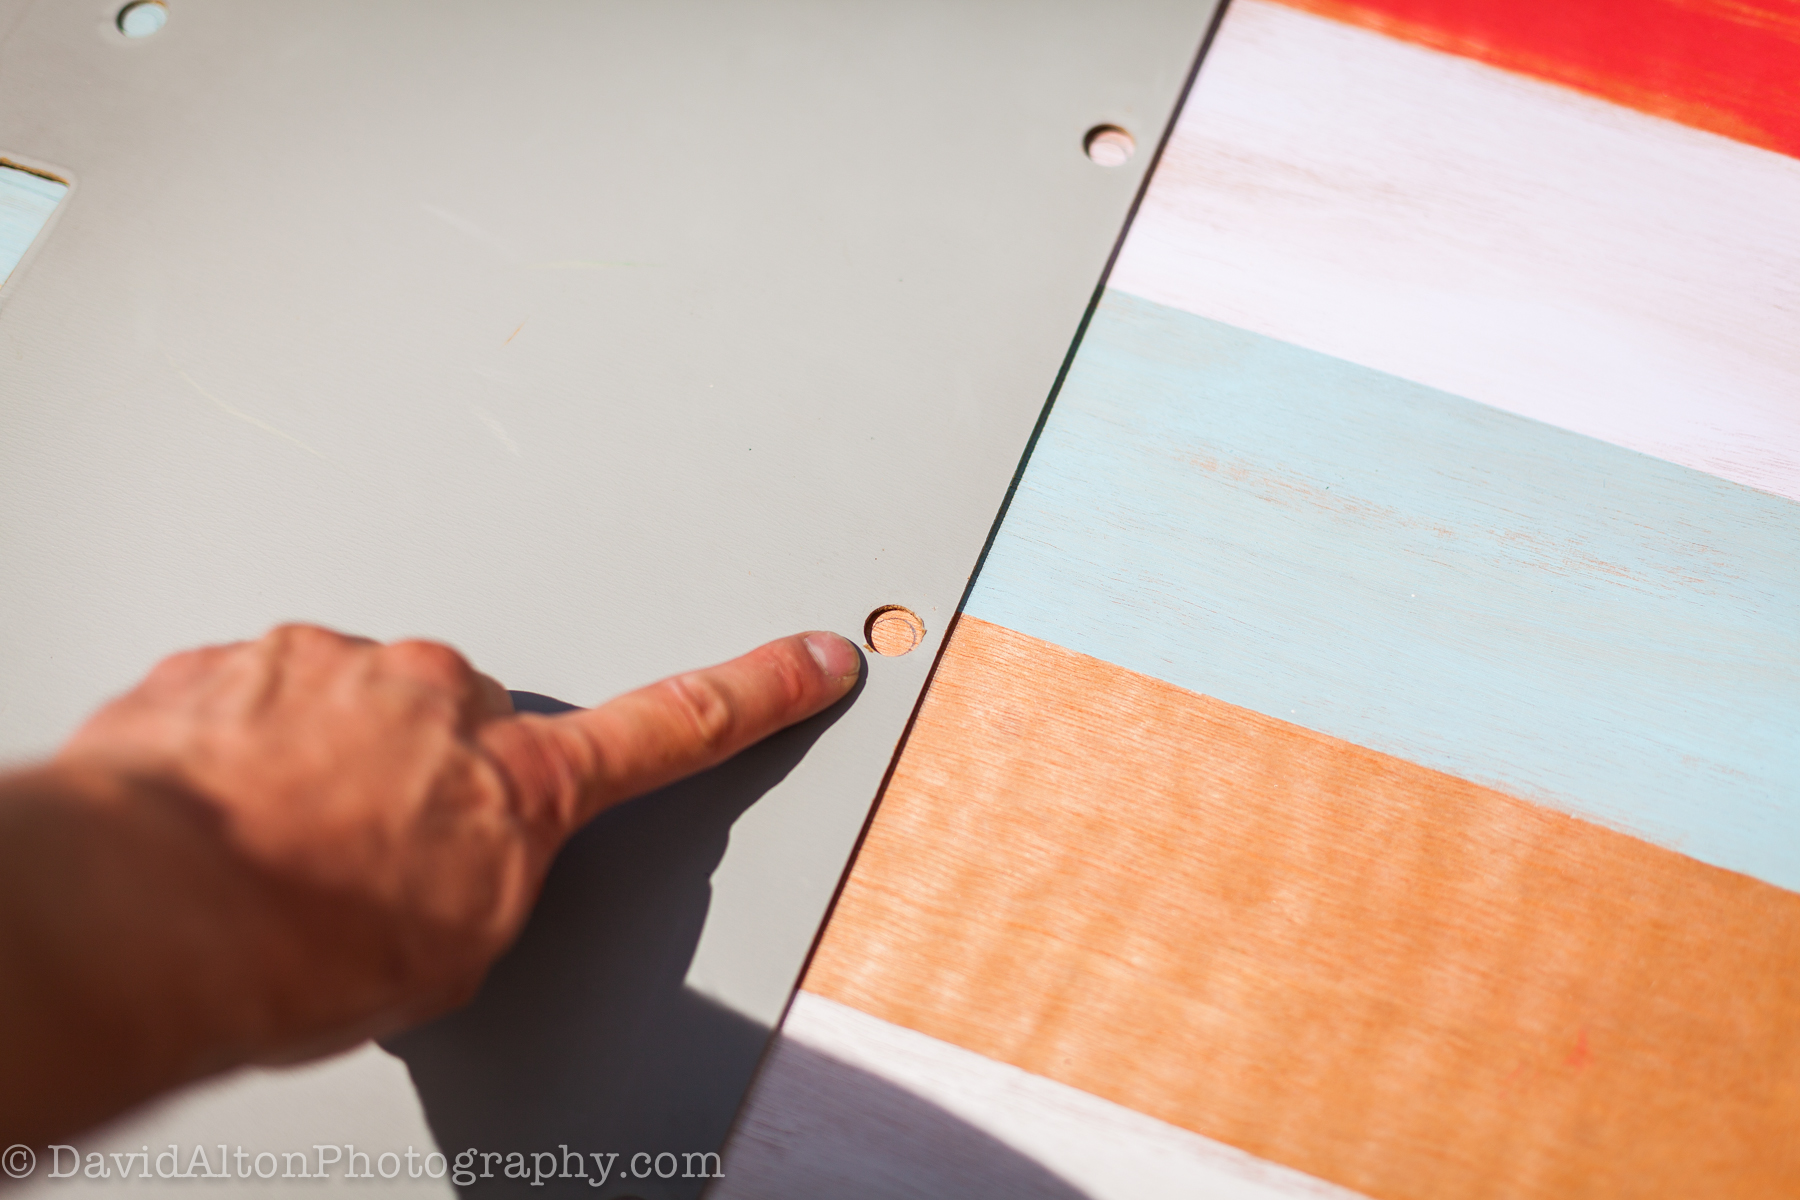
Laid both old ceiling pieces on top of the new one to mark around the holes / corner cut-outs and use as a template:

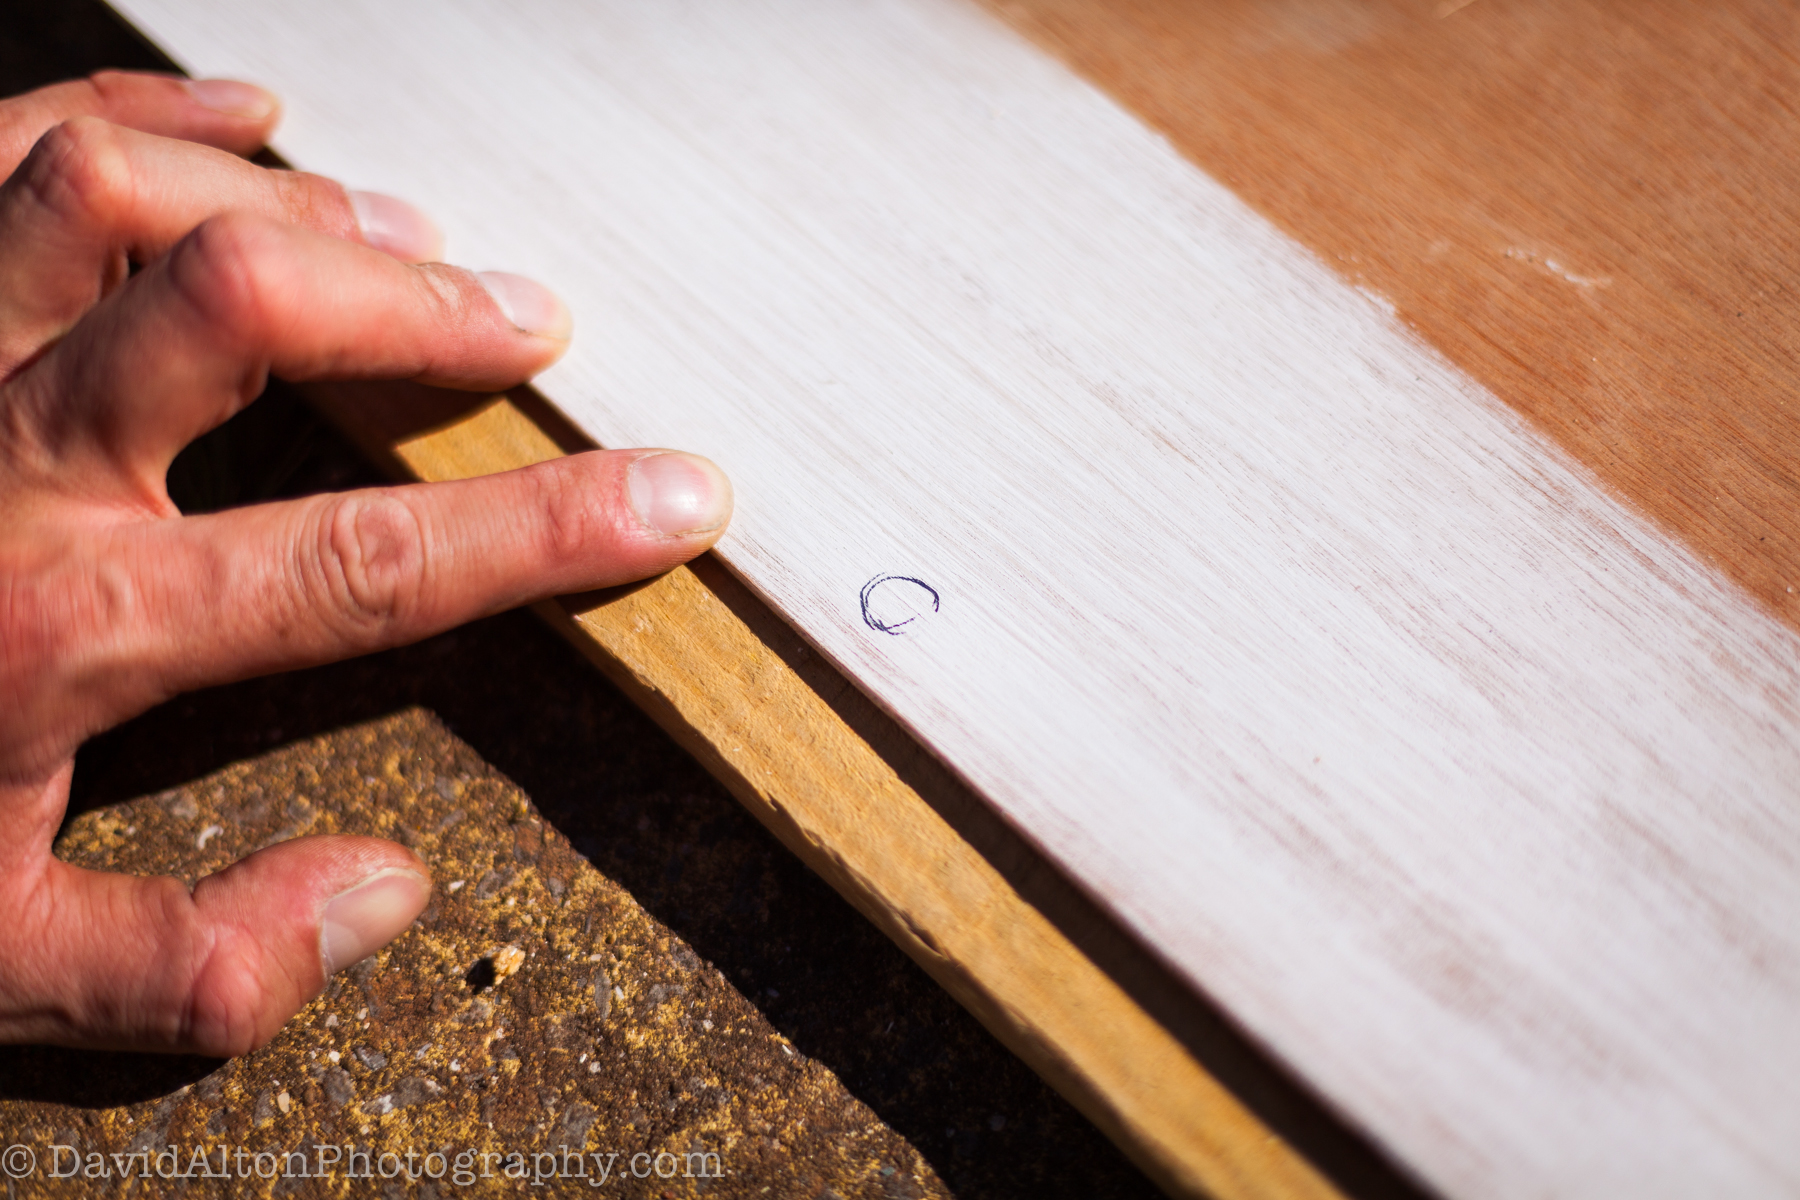
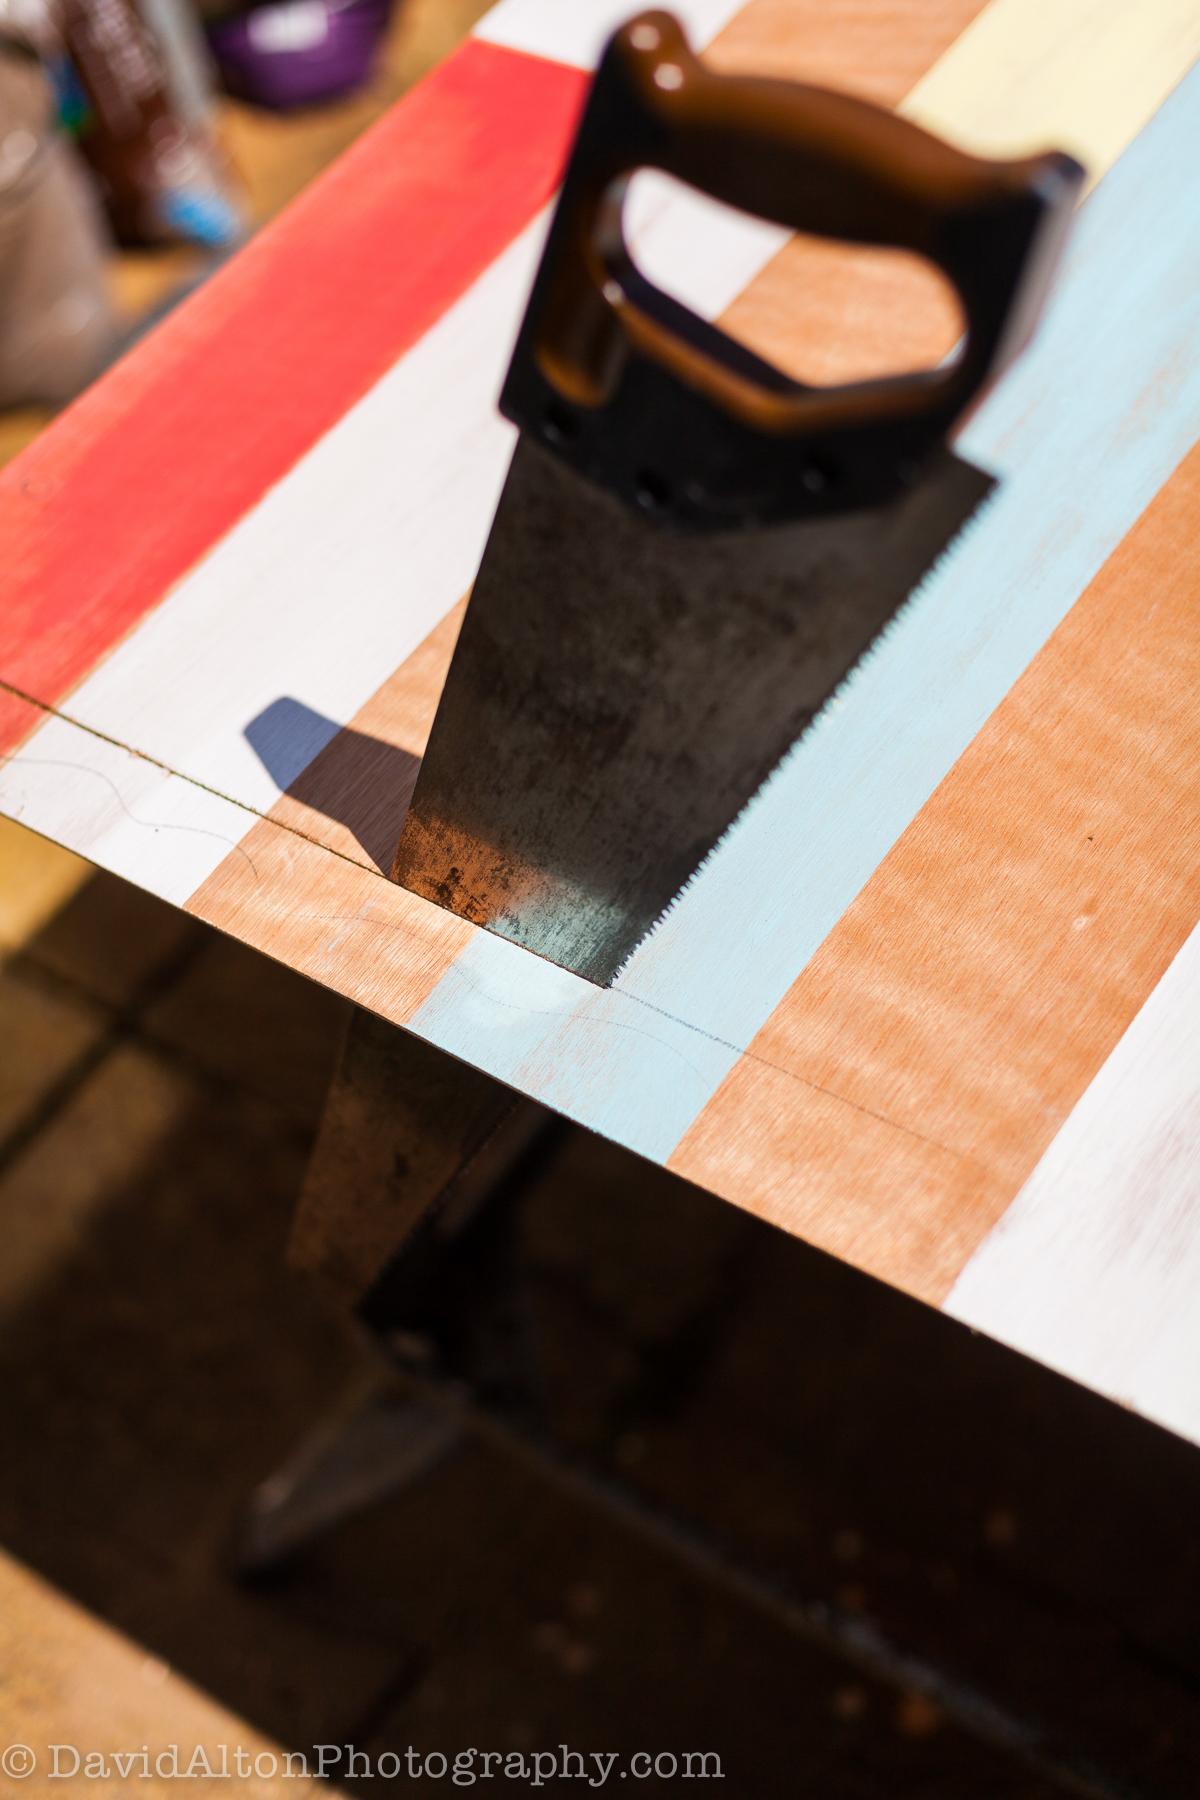
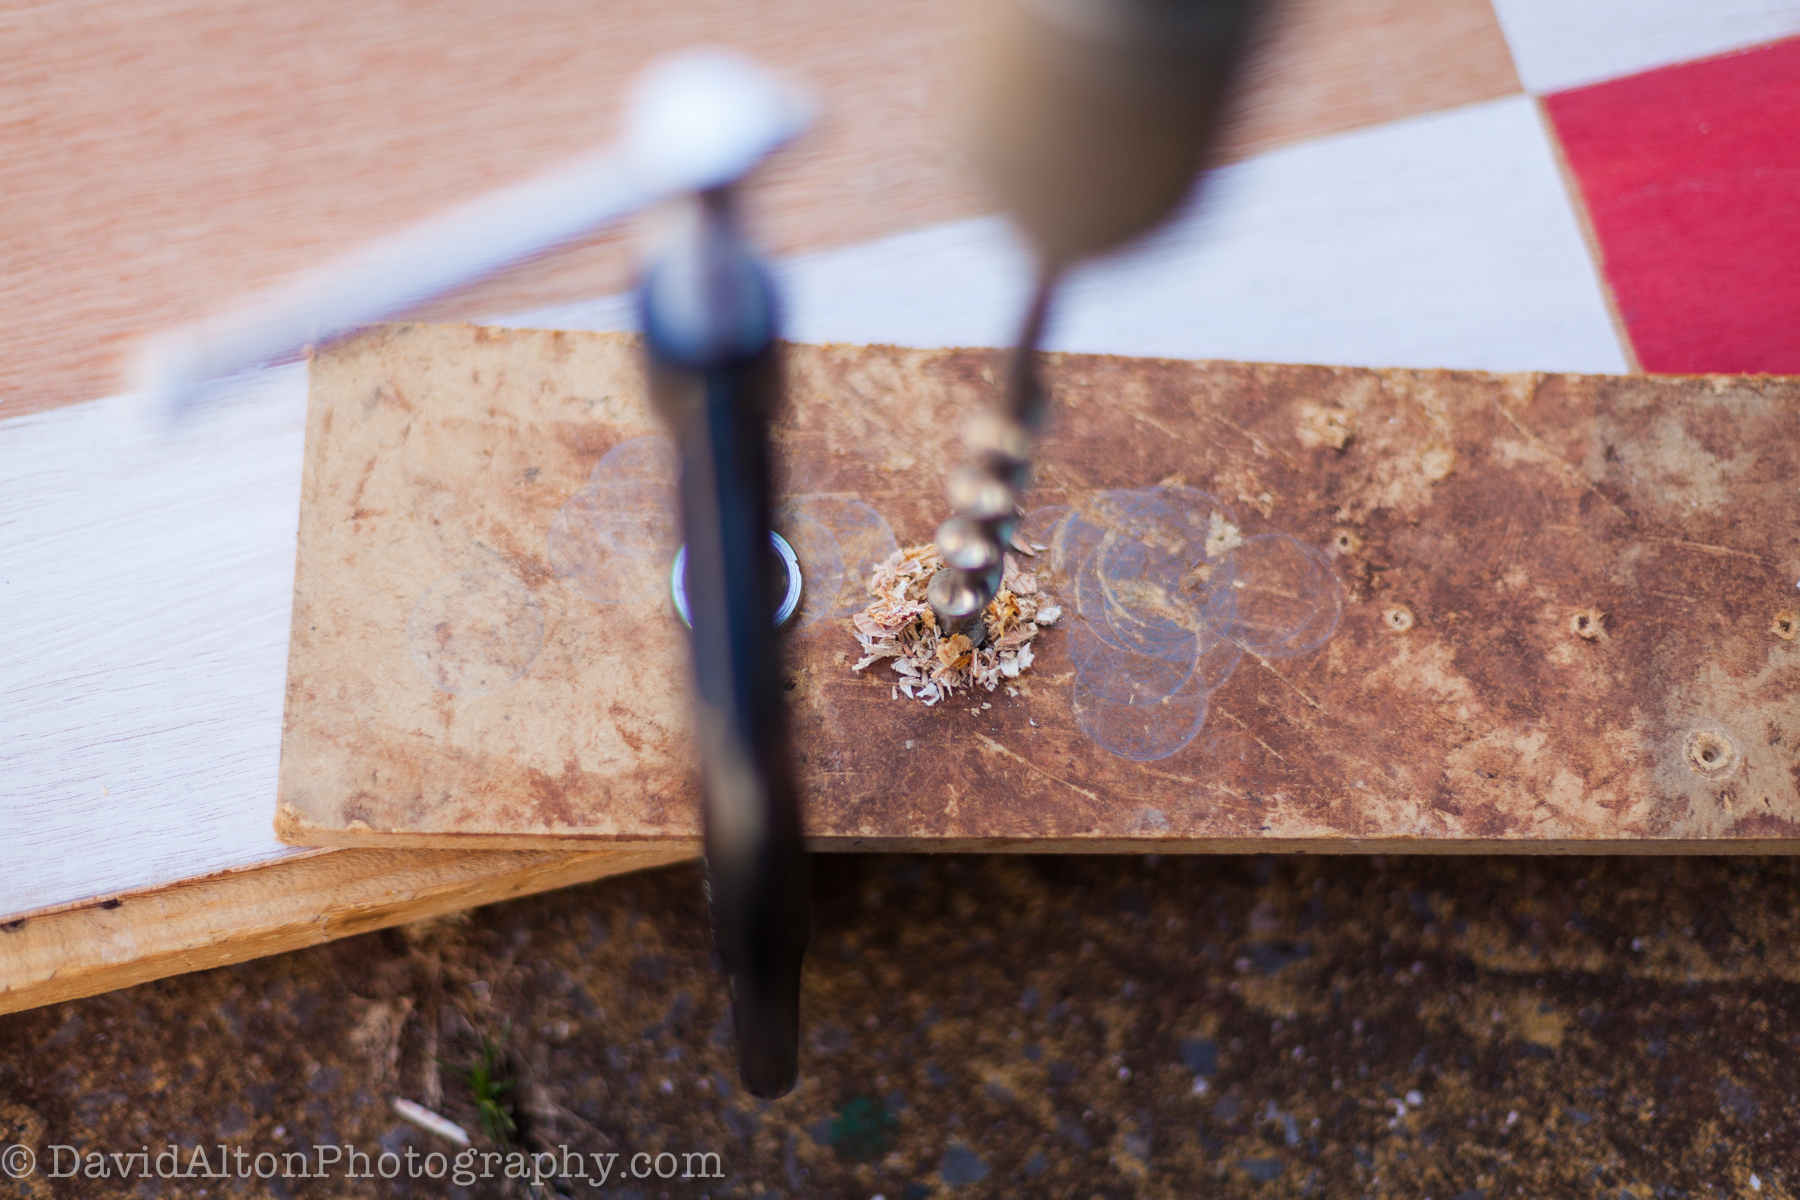
Cut and hand-drilled to shape:


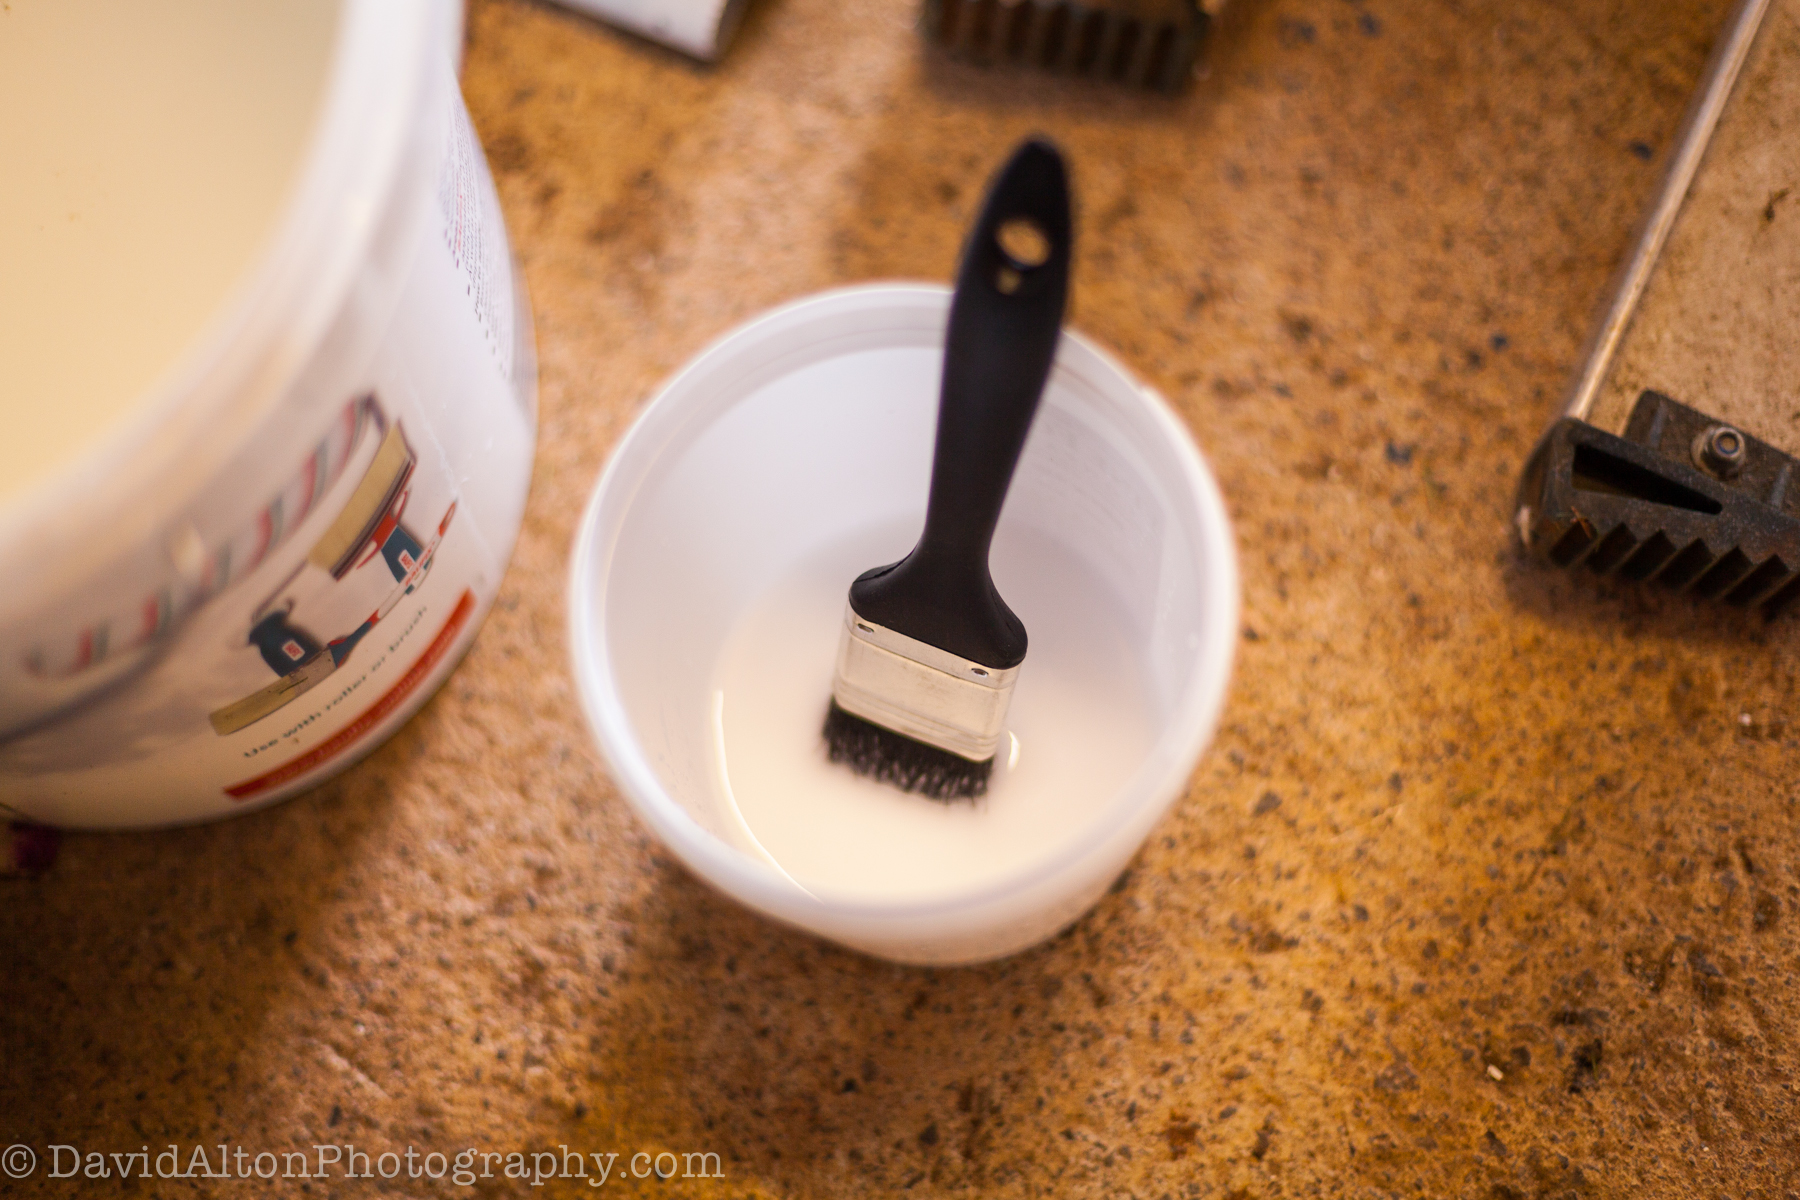
Applied 4 layers of PVA glue to each side of the panel to protect against interior condensation and possible warping.

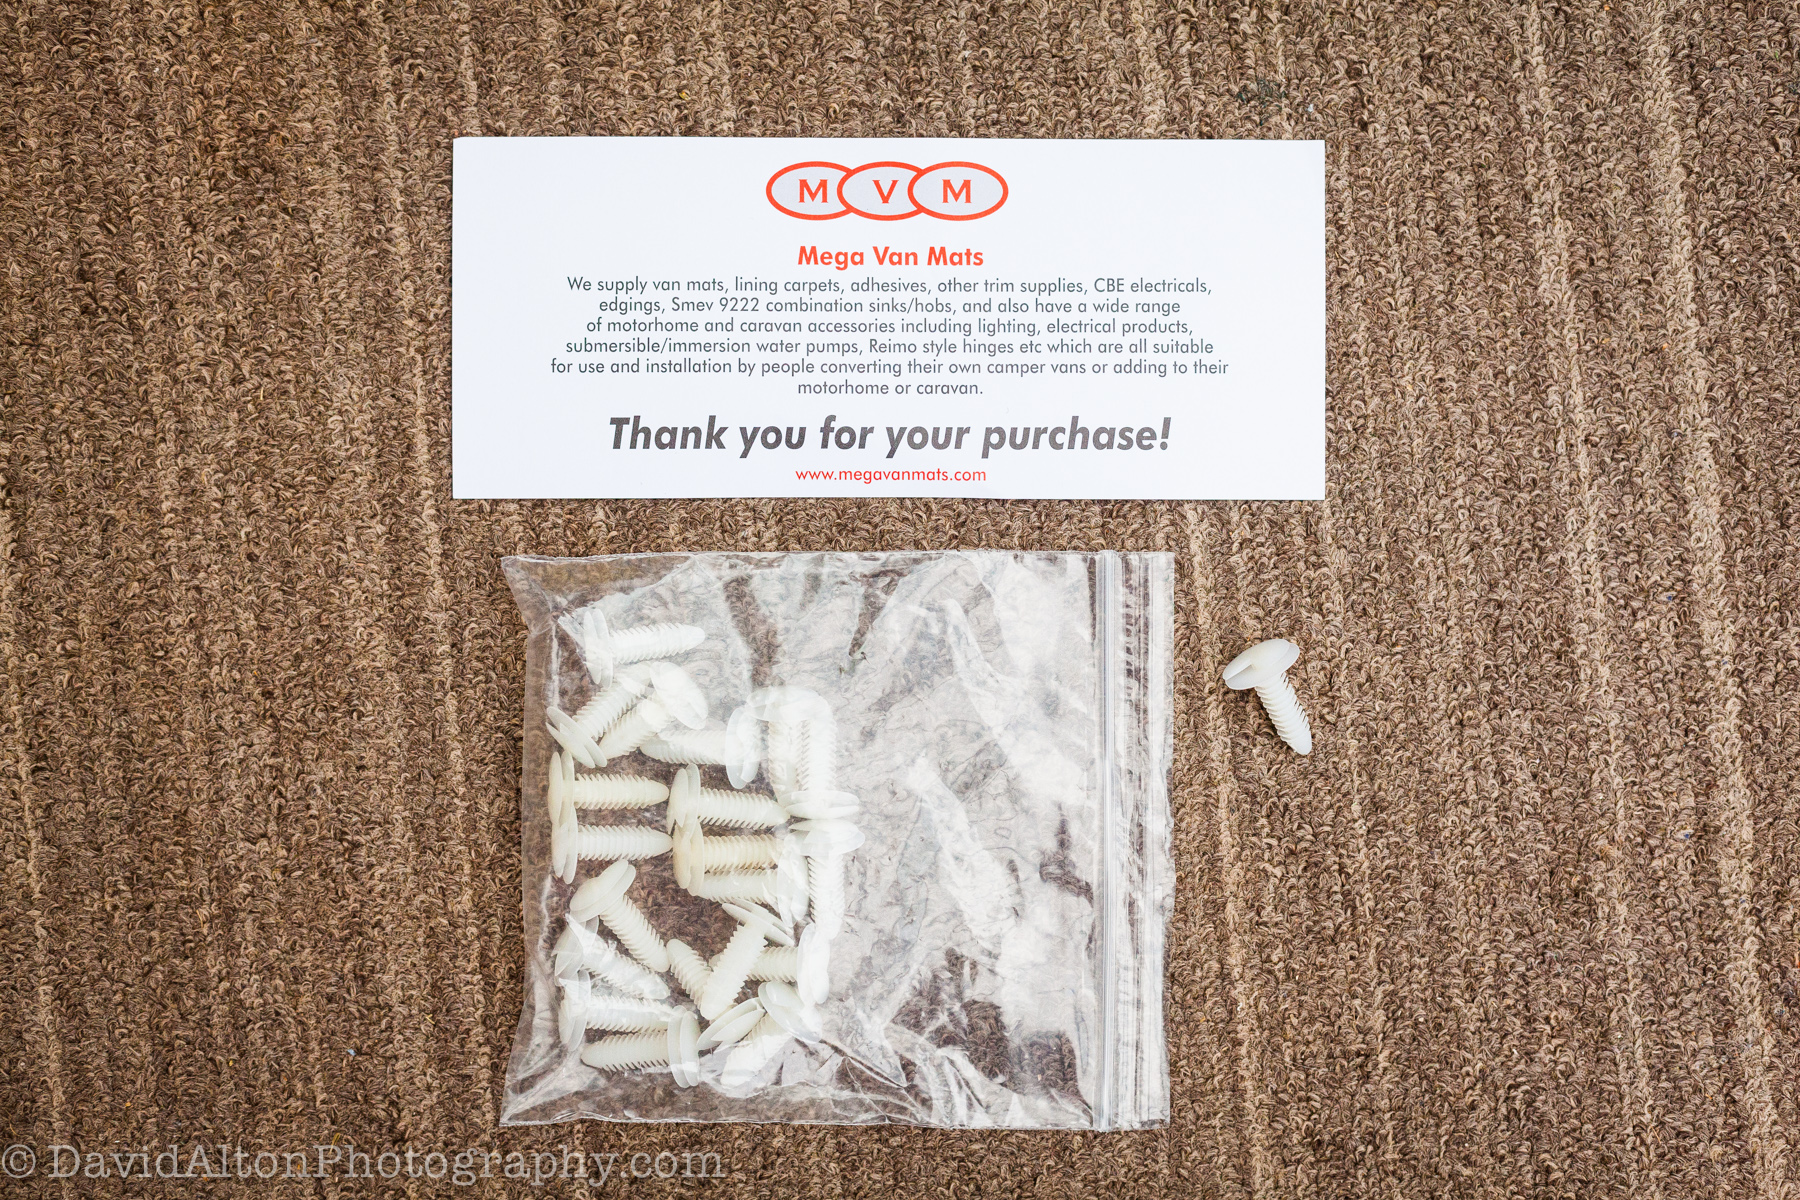
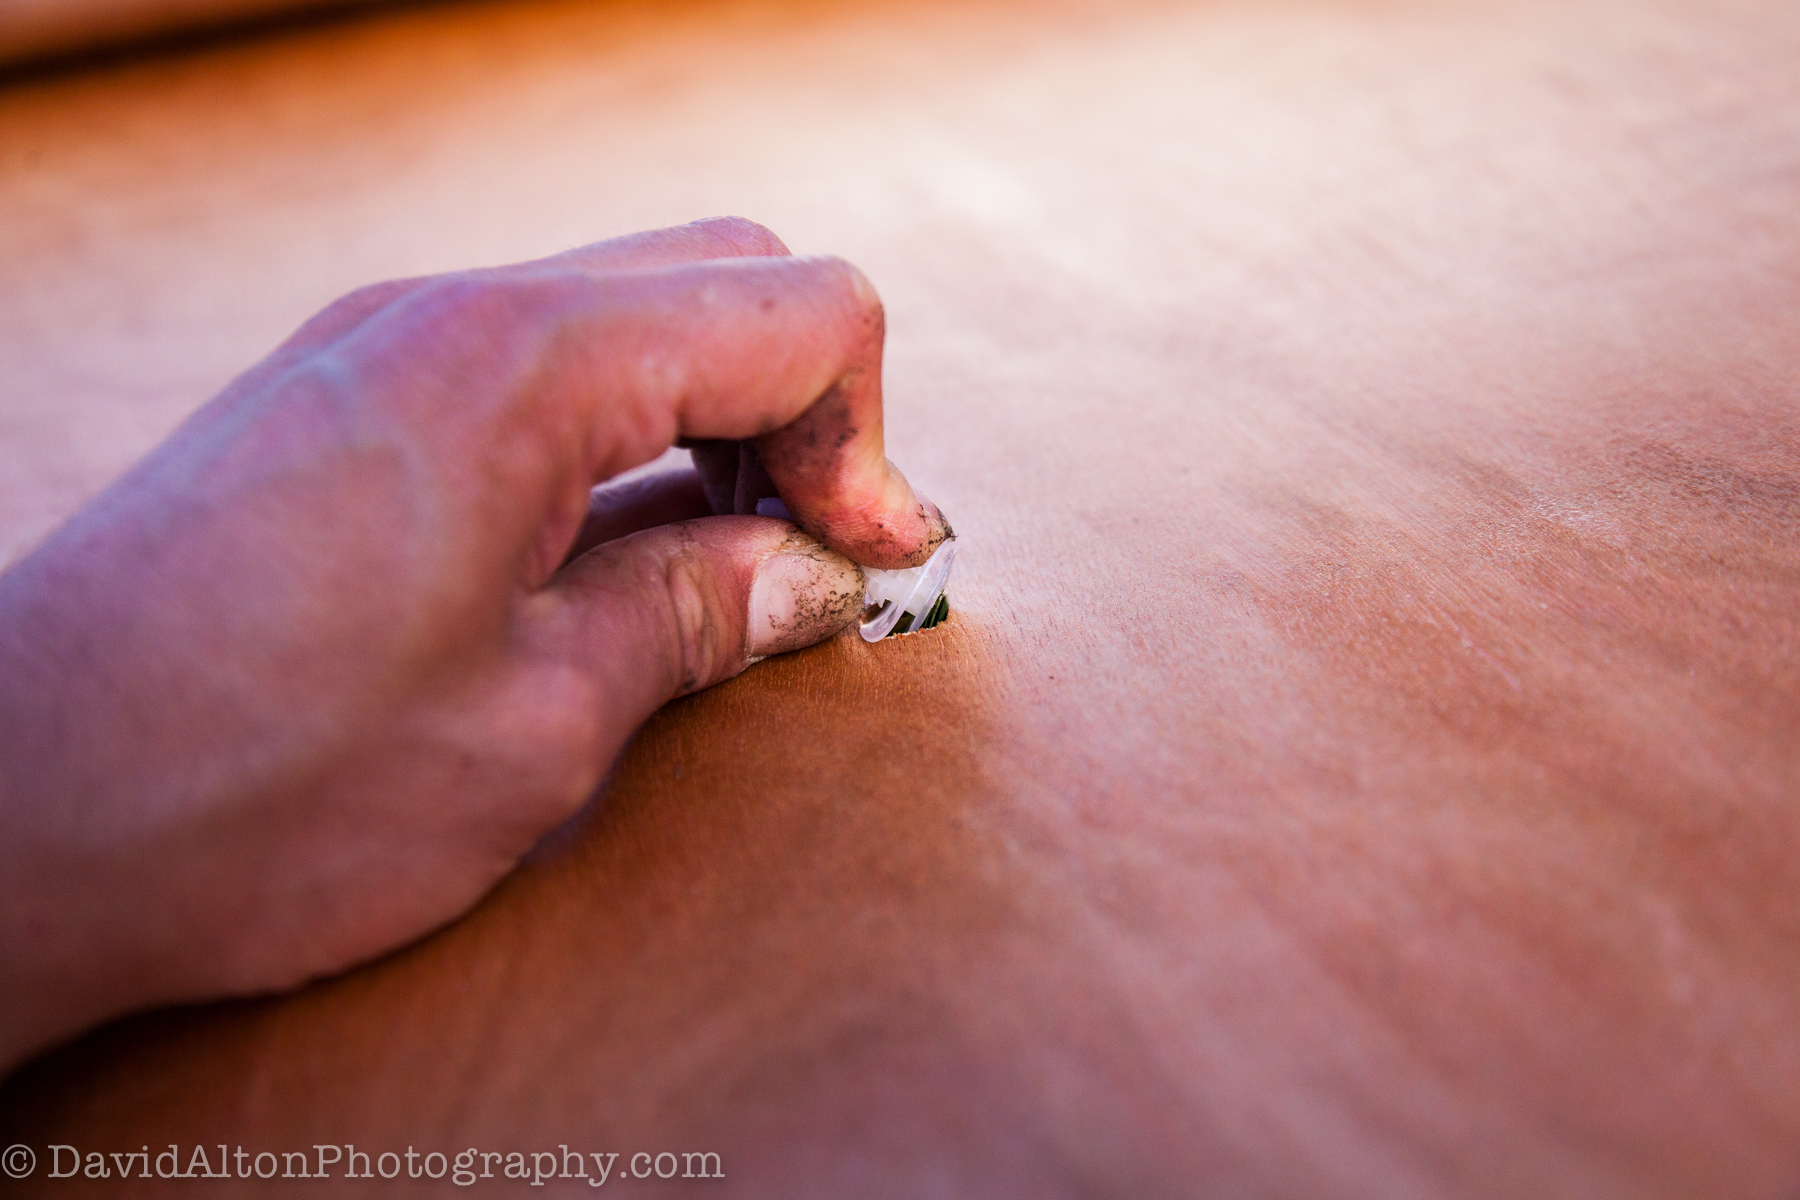
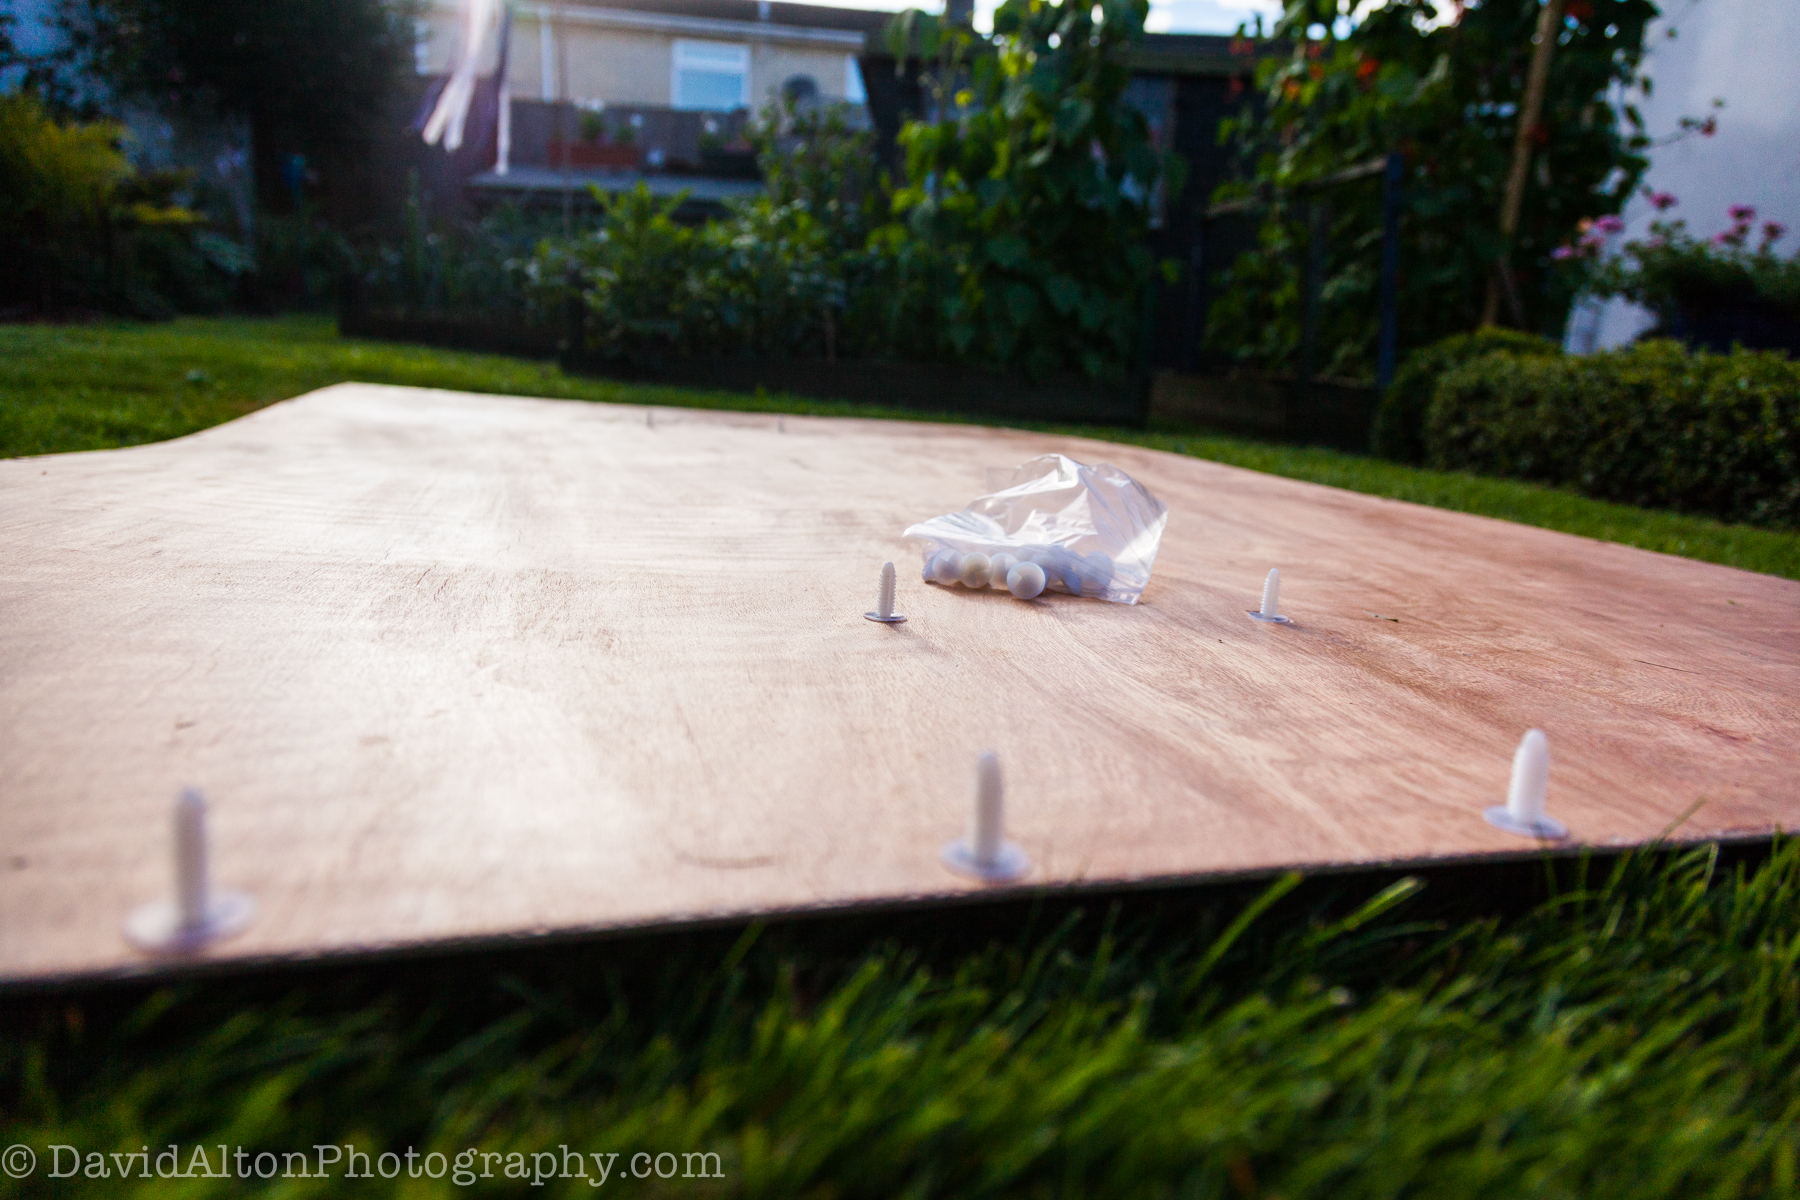
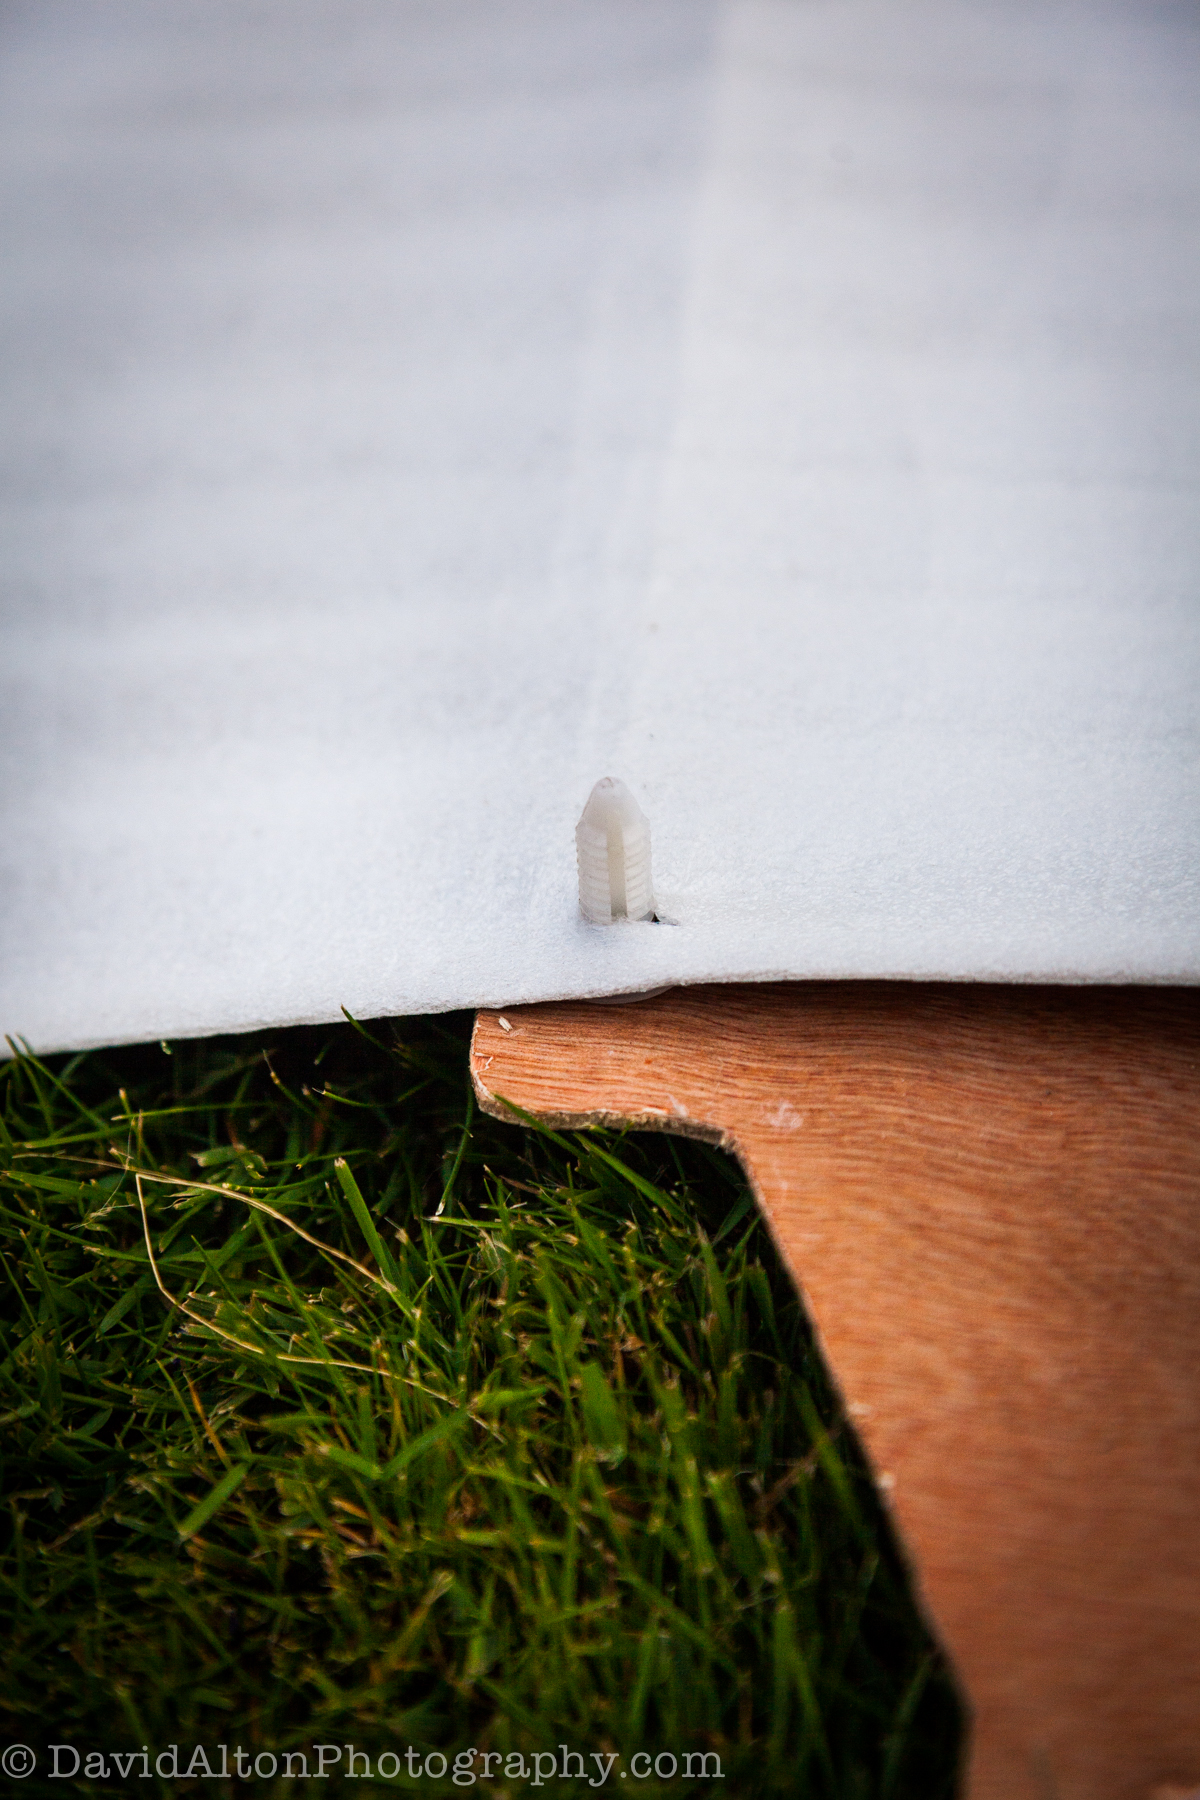
Fitted ceiling clips (turned board upside down for this to allow for correct insertion of clips):
Discovered rolls of underfloor insulation material in the loft, from when I laid laminate flooring 10 years ago! One roll was foil-backed. I used both:

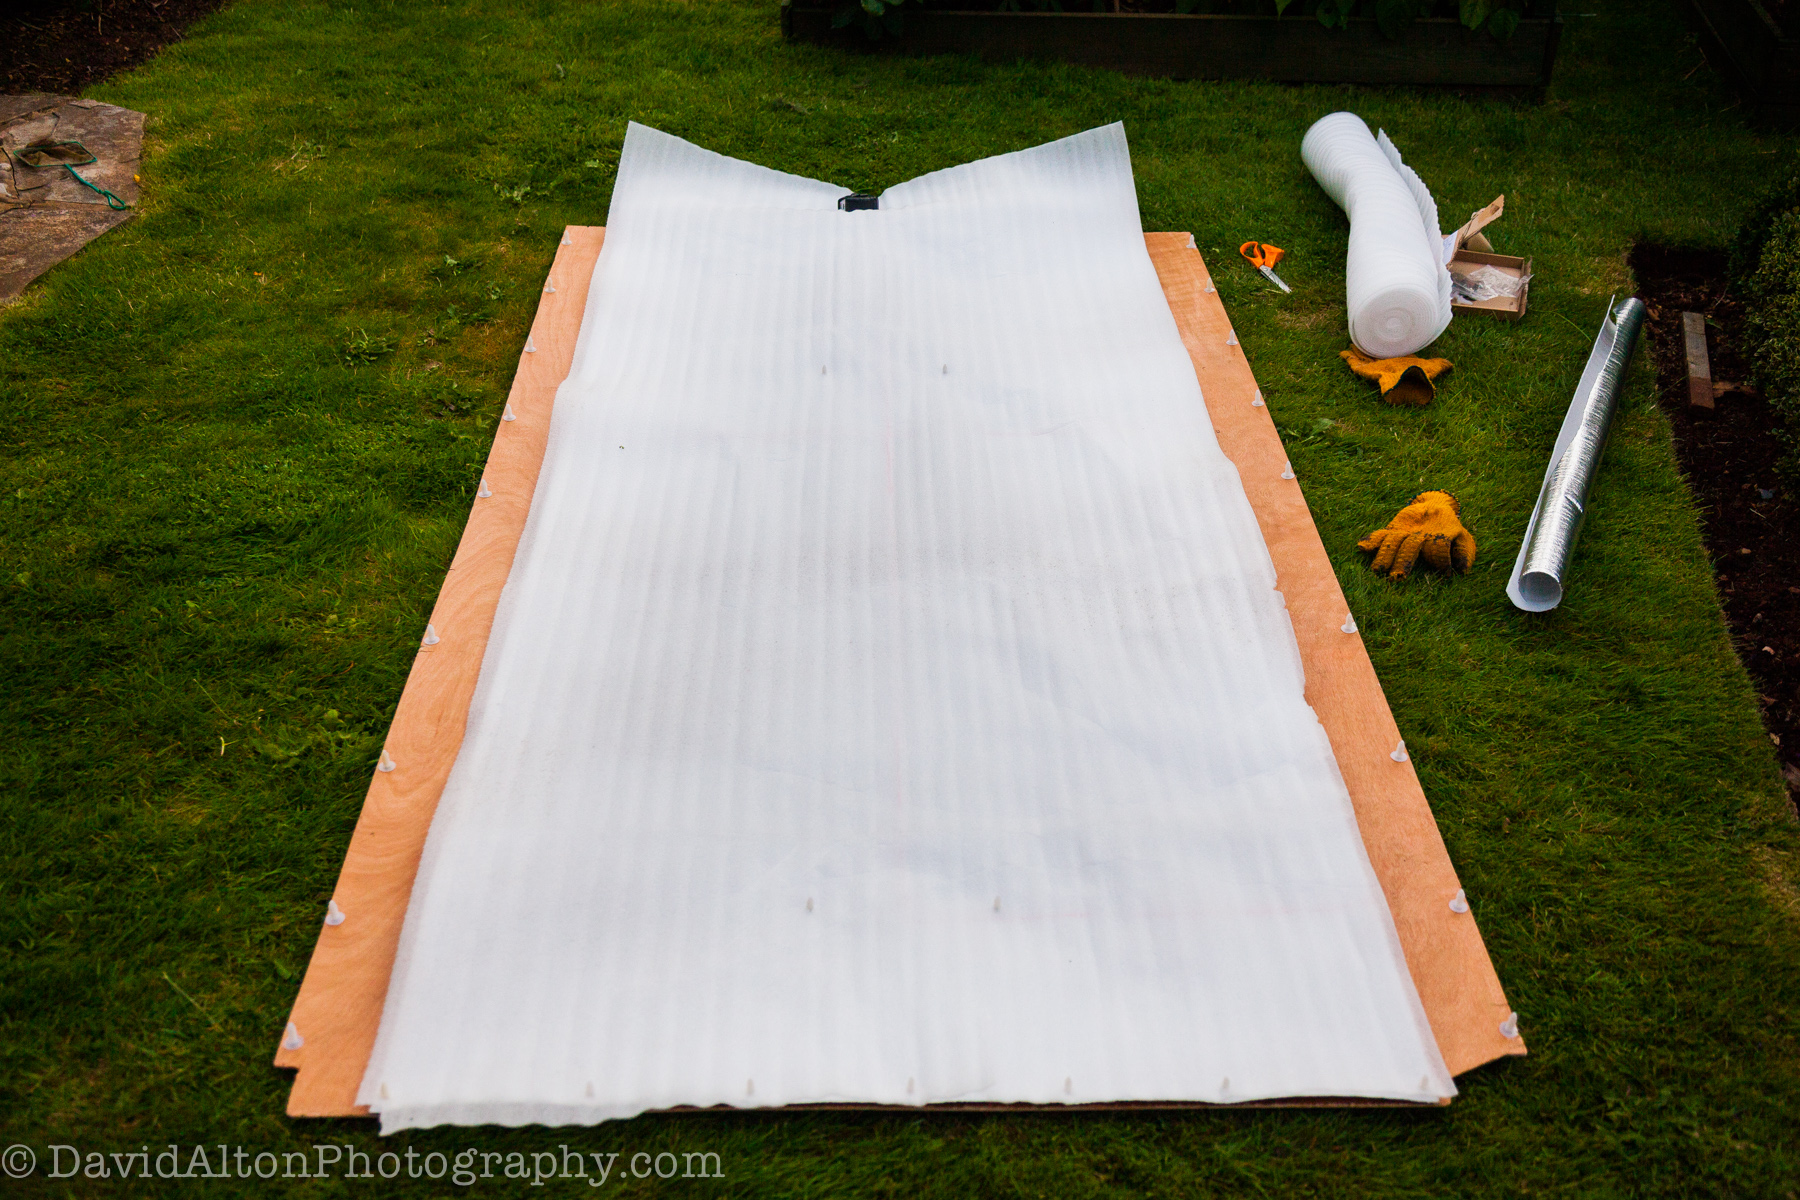
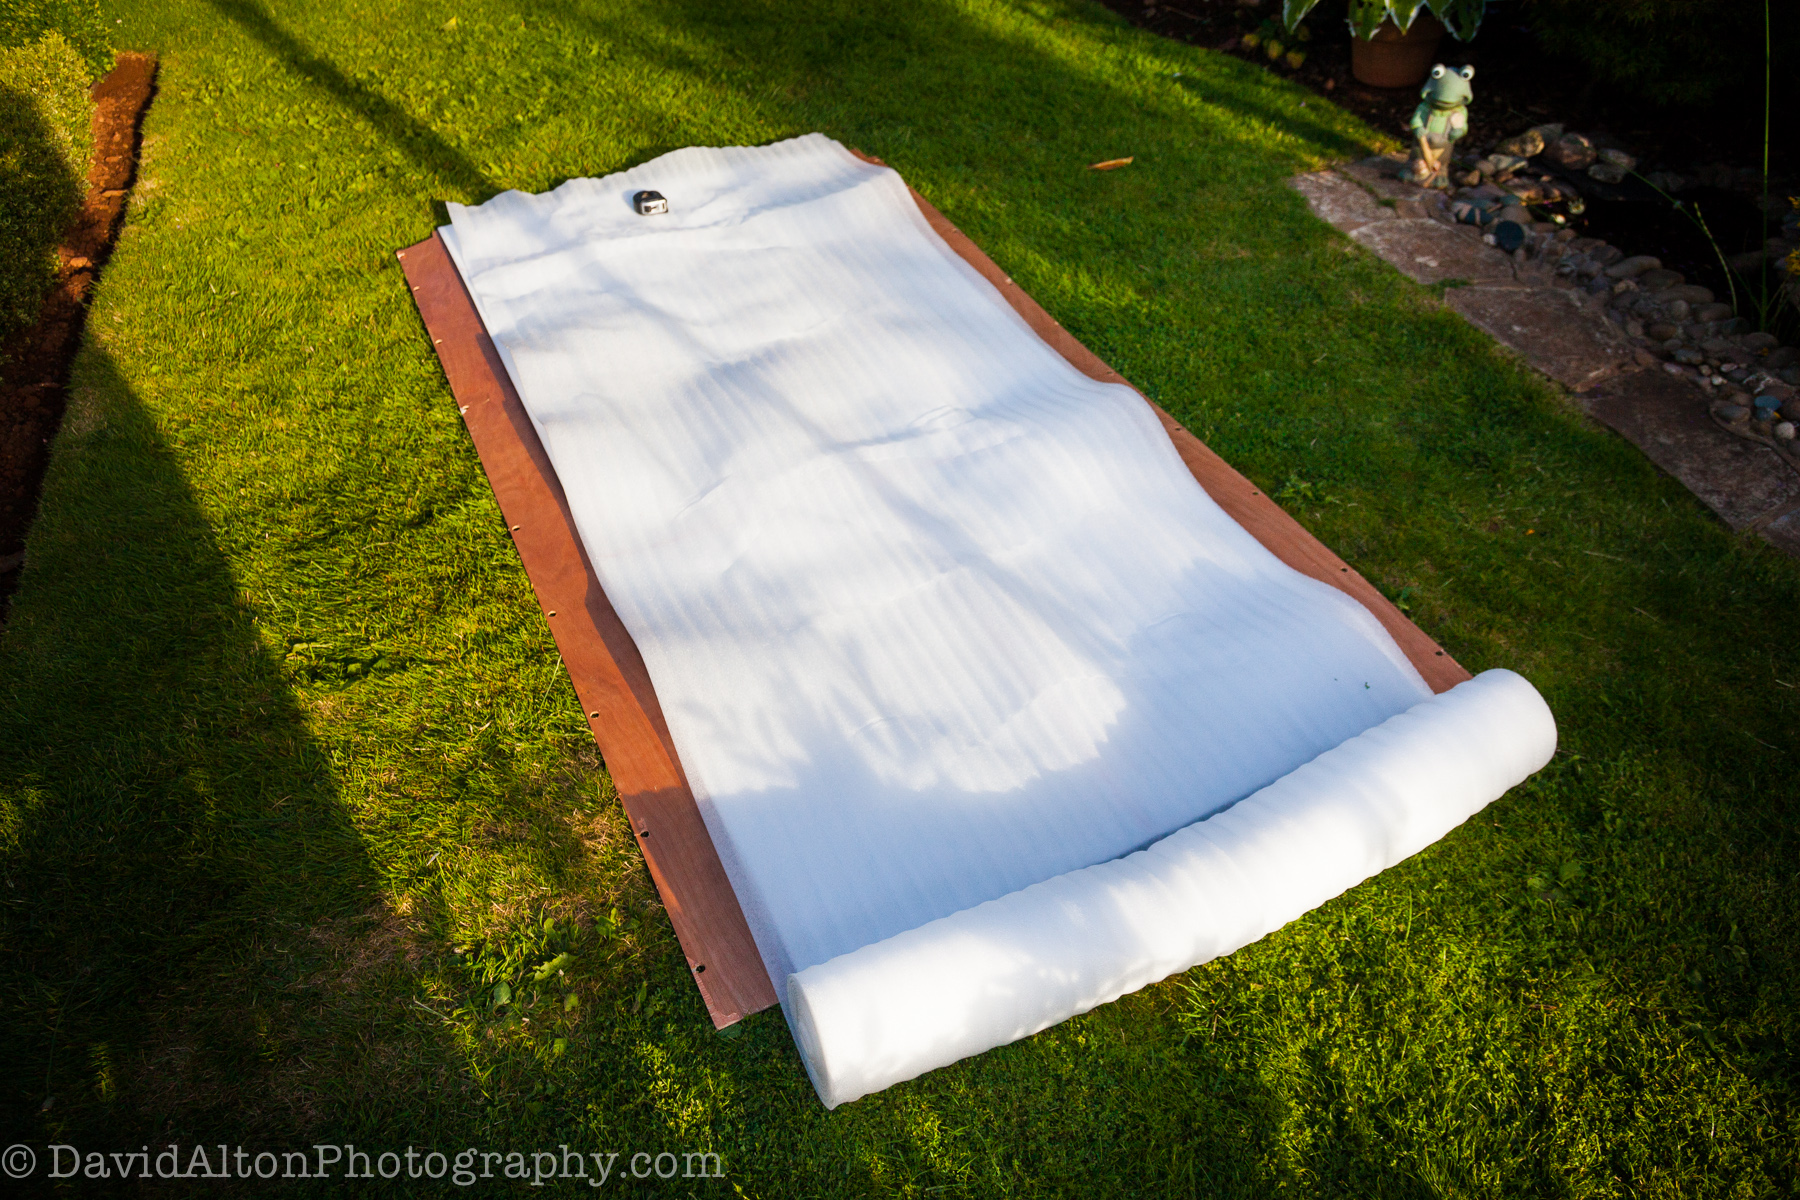

I easily pushed the clips through the insulating material, which held it in position:
Fitted the whole thing up into the van:

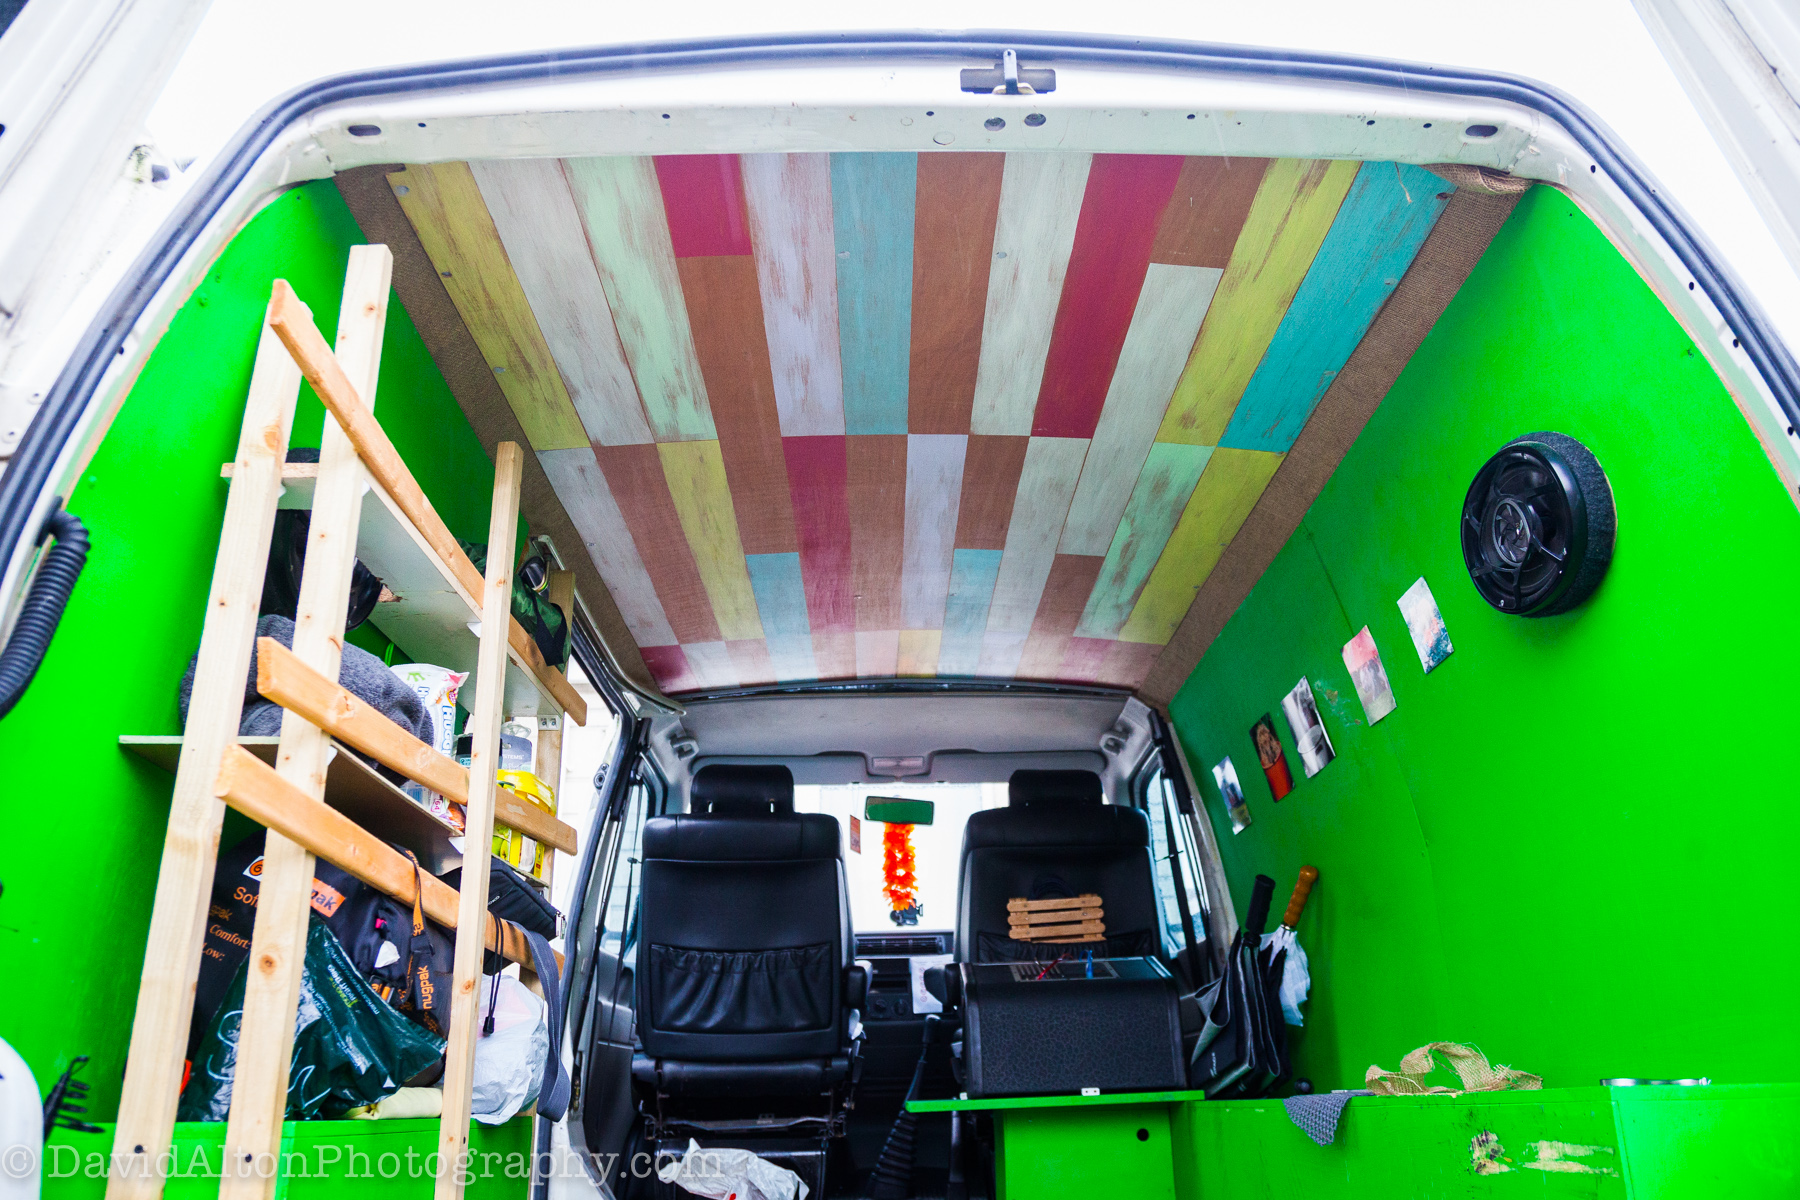
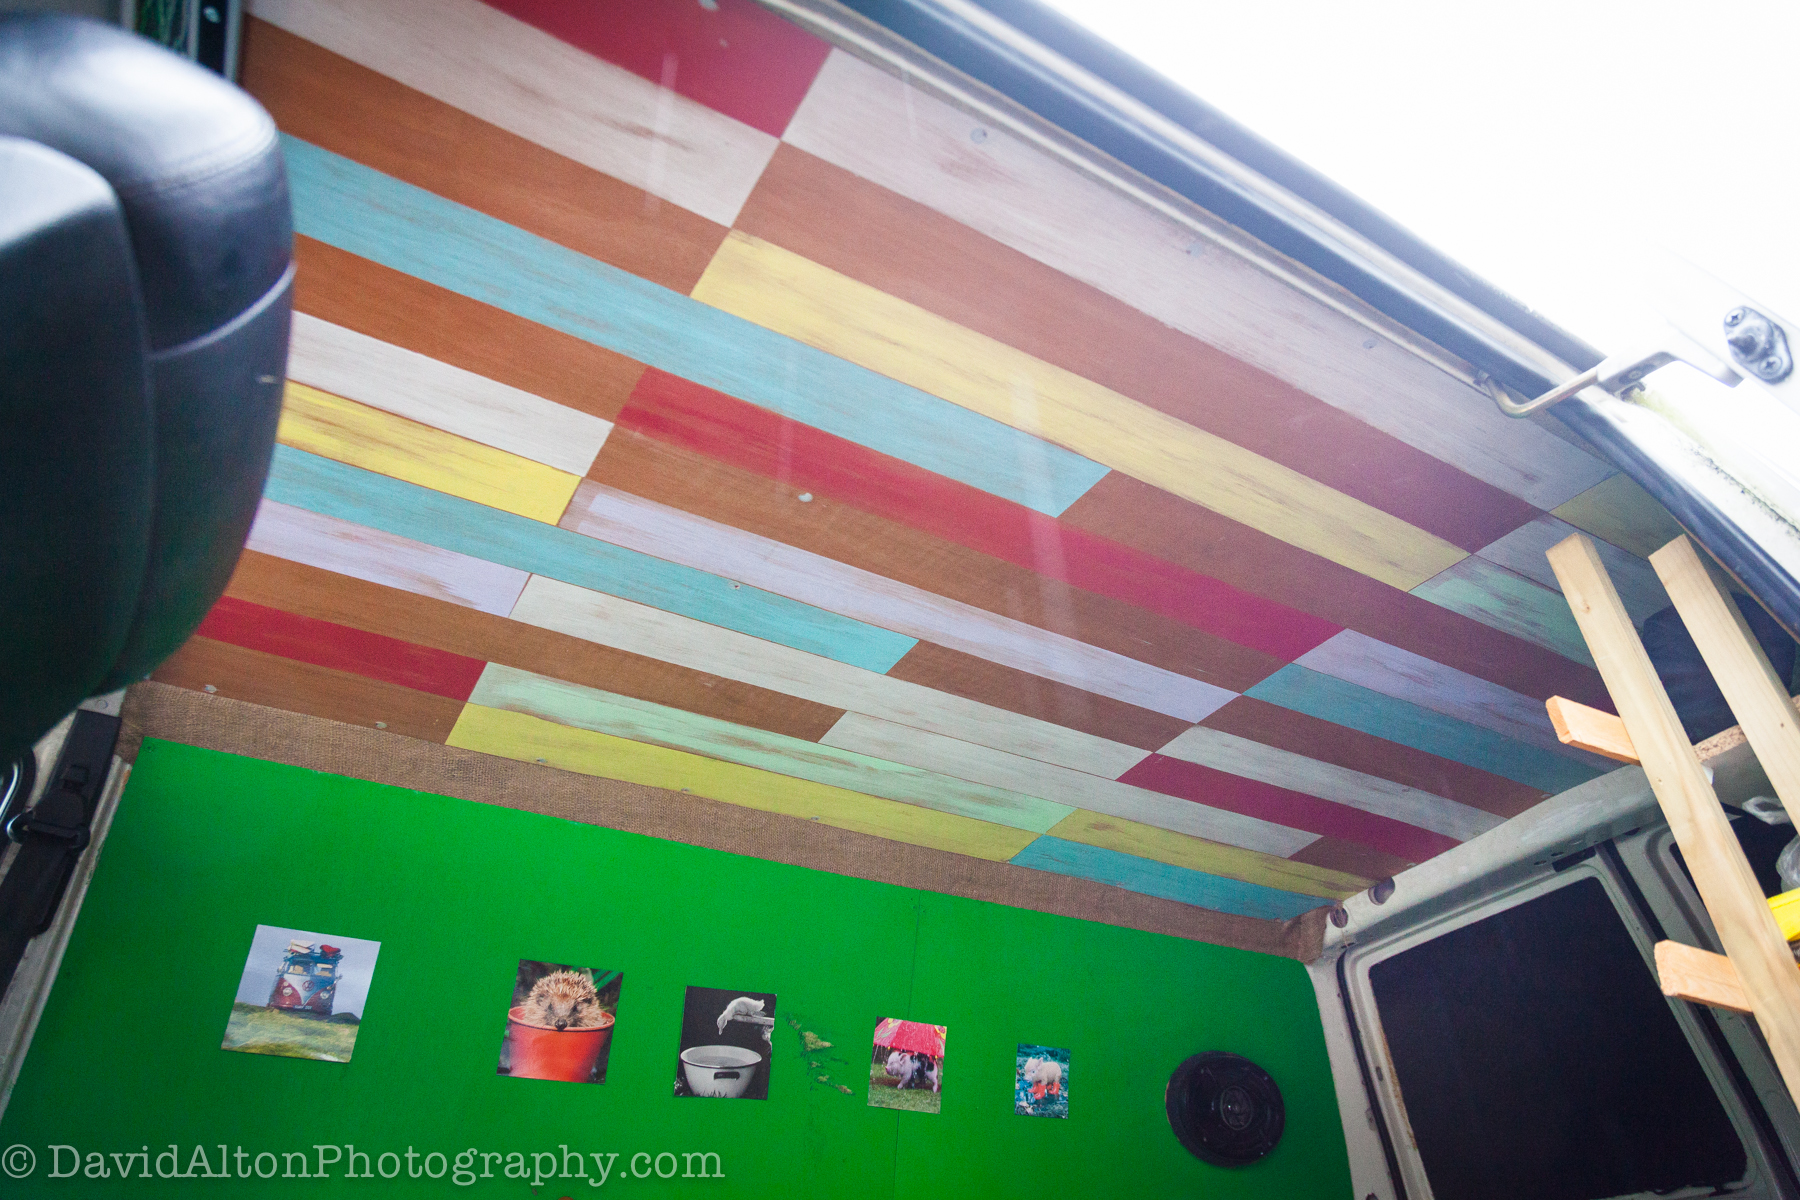
Excuse the raindrops streaking across the shot on the last pic!
You may have noticed I also added new ‘architraves’.
I did this in conjunction with making the ceiling.
Here’s how: